Viewing entries in
textile printing

Comfy bedroom cushions

Comment

Comfy bedroom cushions

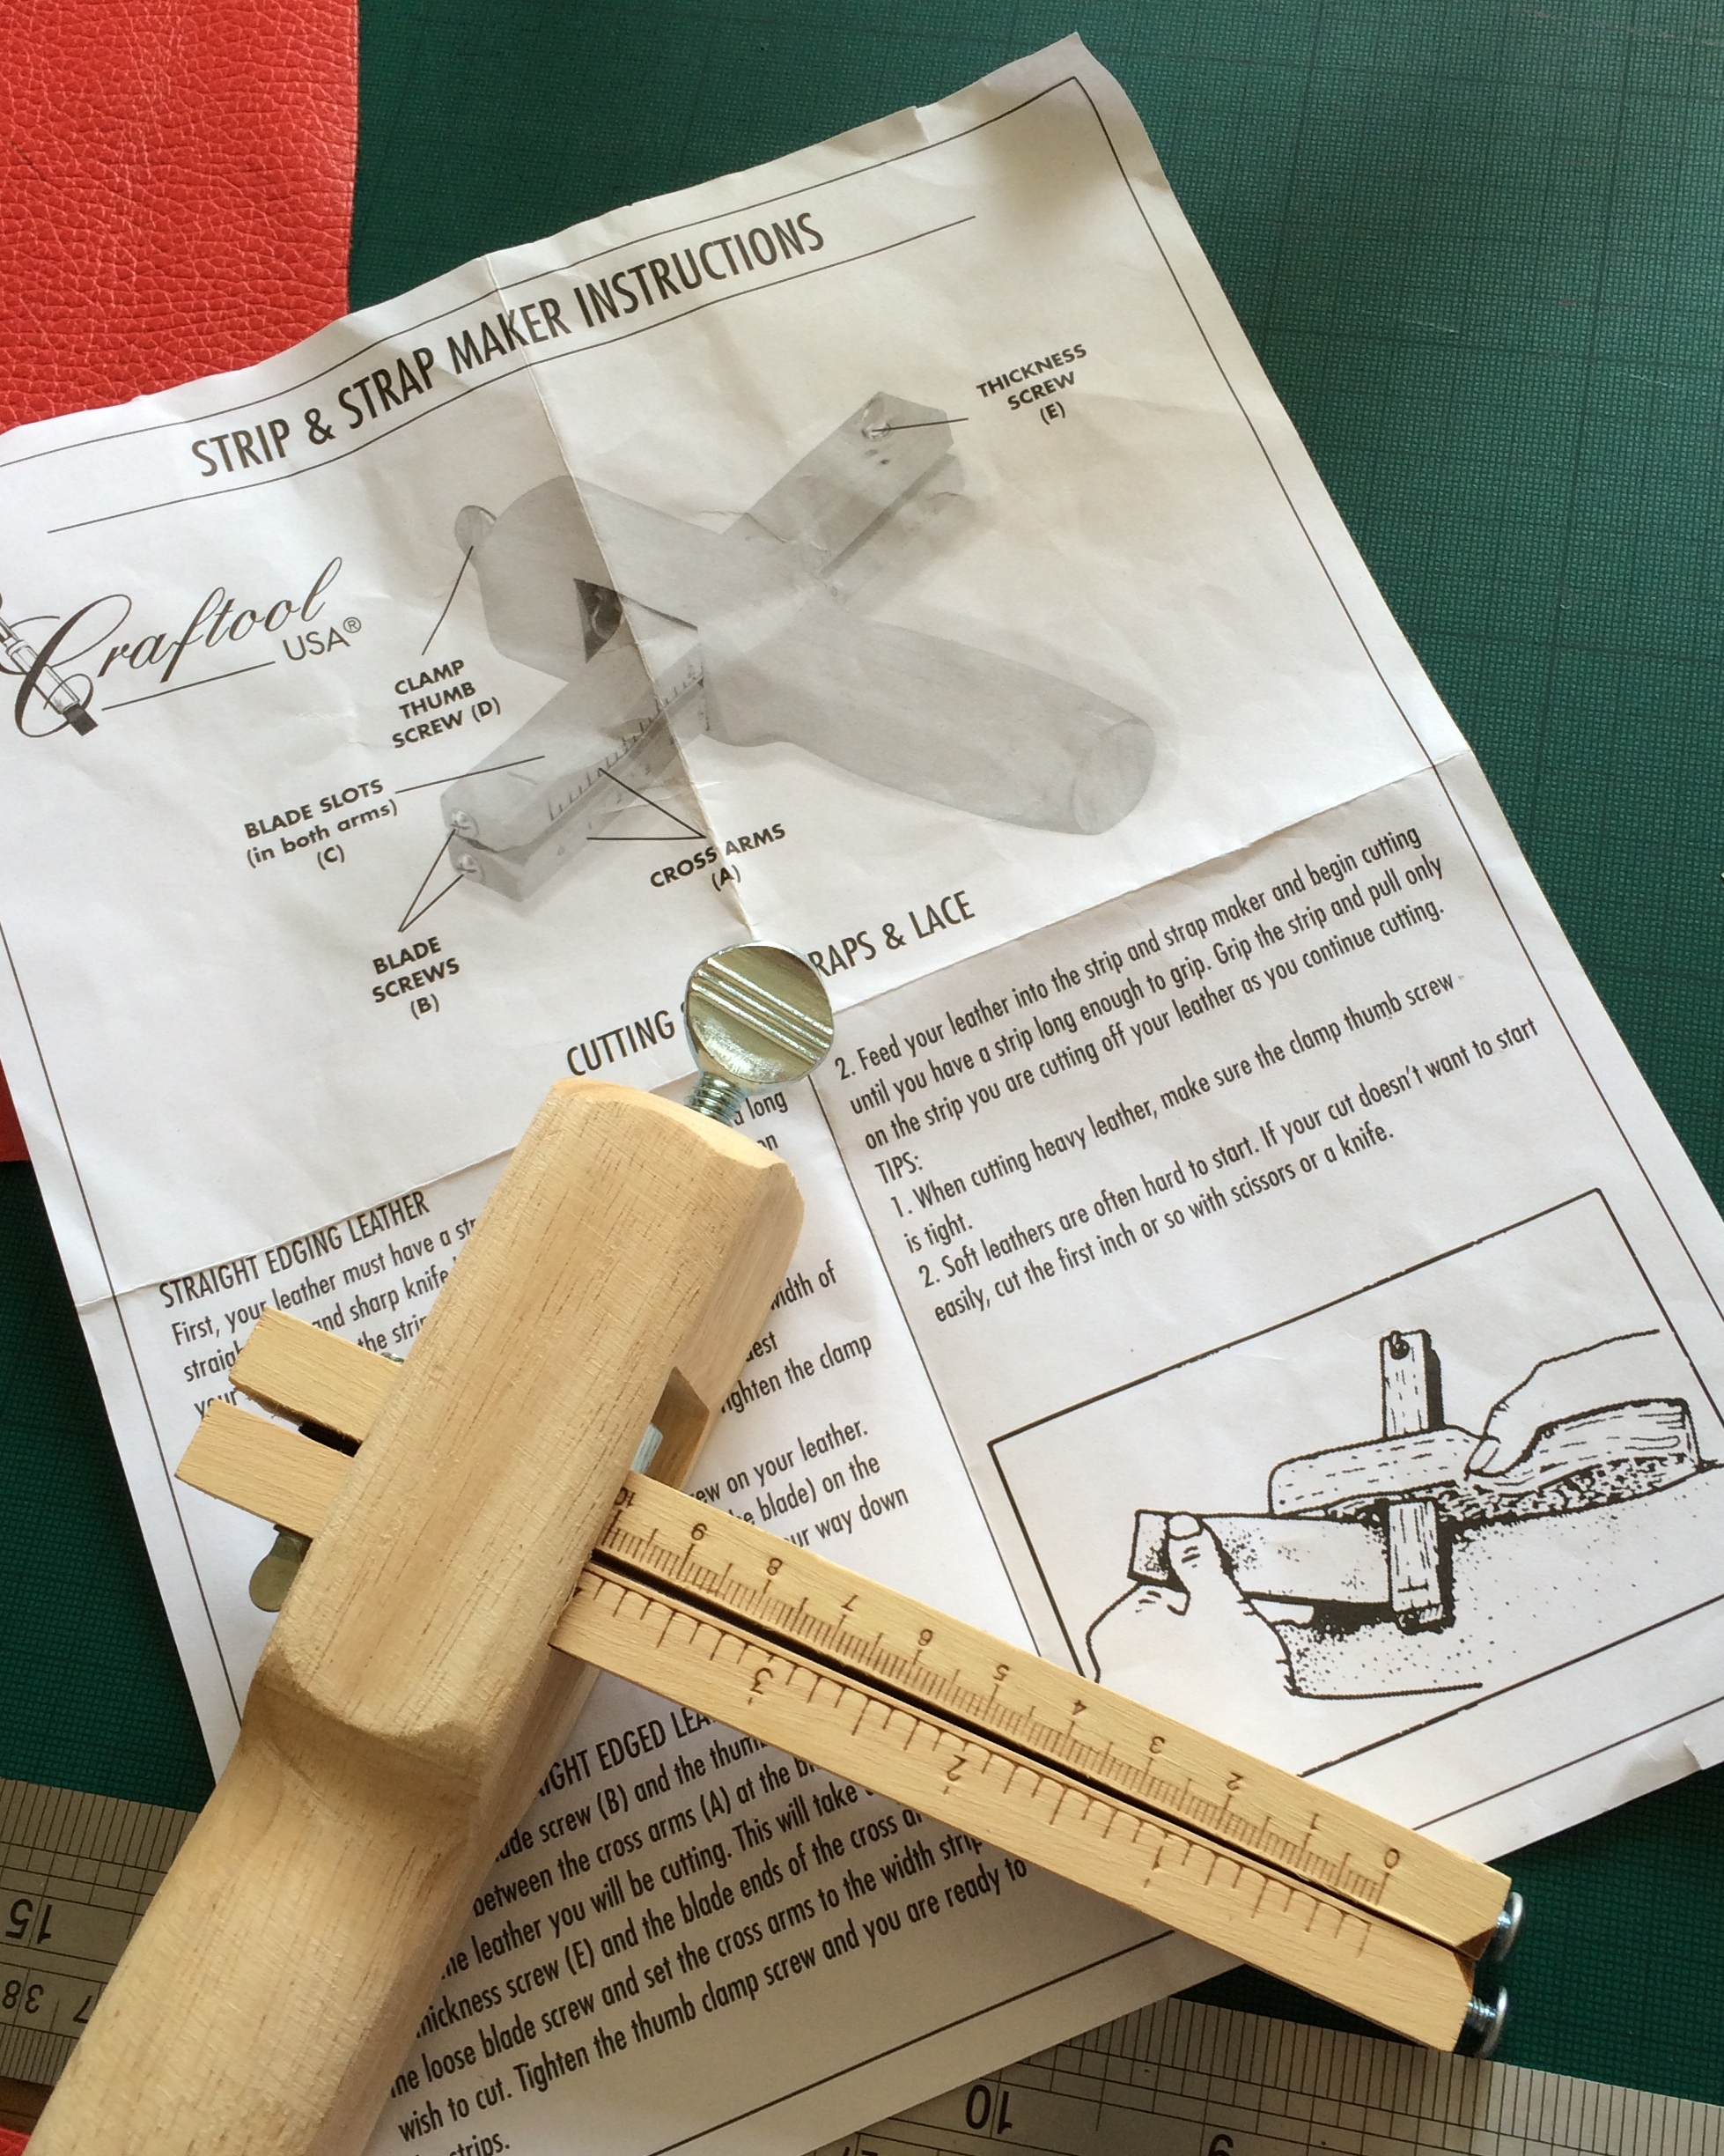
This is a simple project, but one I've been meaning to do for a few months now.

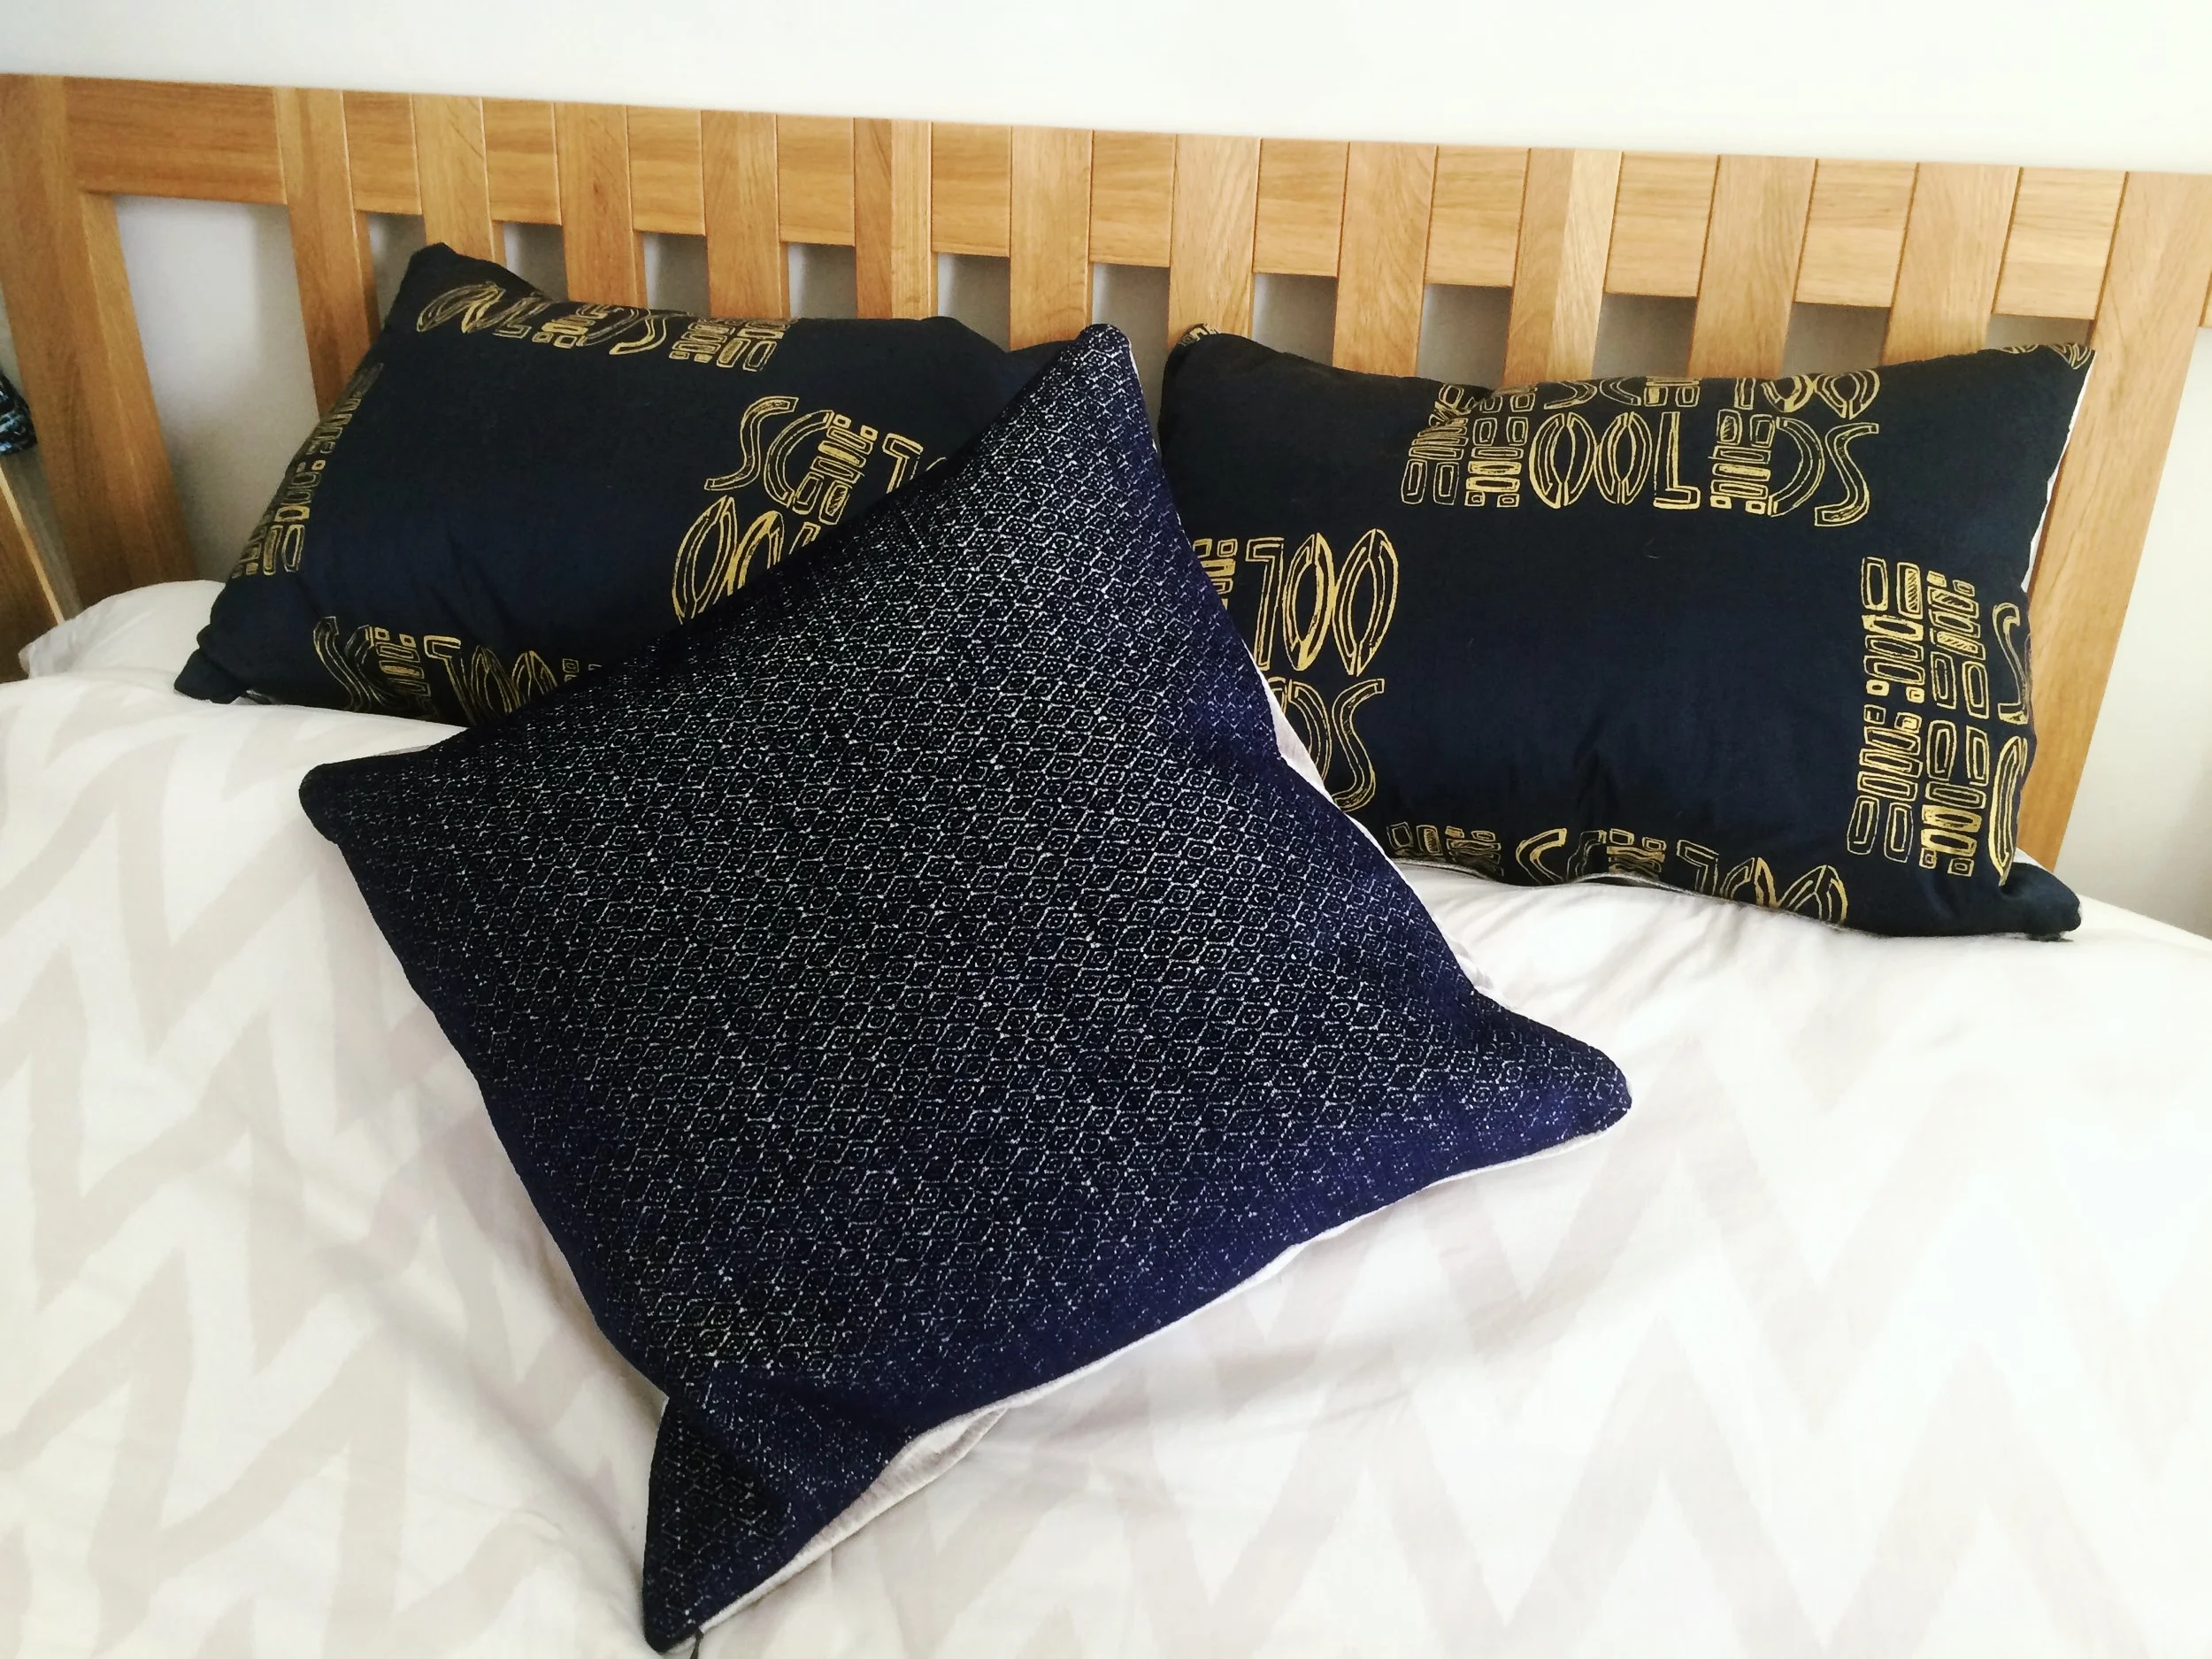
Apart from the beautiful charcoal coloured Victorian fireplace, the colour scheme in our bedroom is very neutral. The walls are painted in light grey and there's a cream carpet left over from the previous owners - I haven't helped much by adding soft grey bed linen and white lacquer drawers!

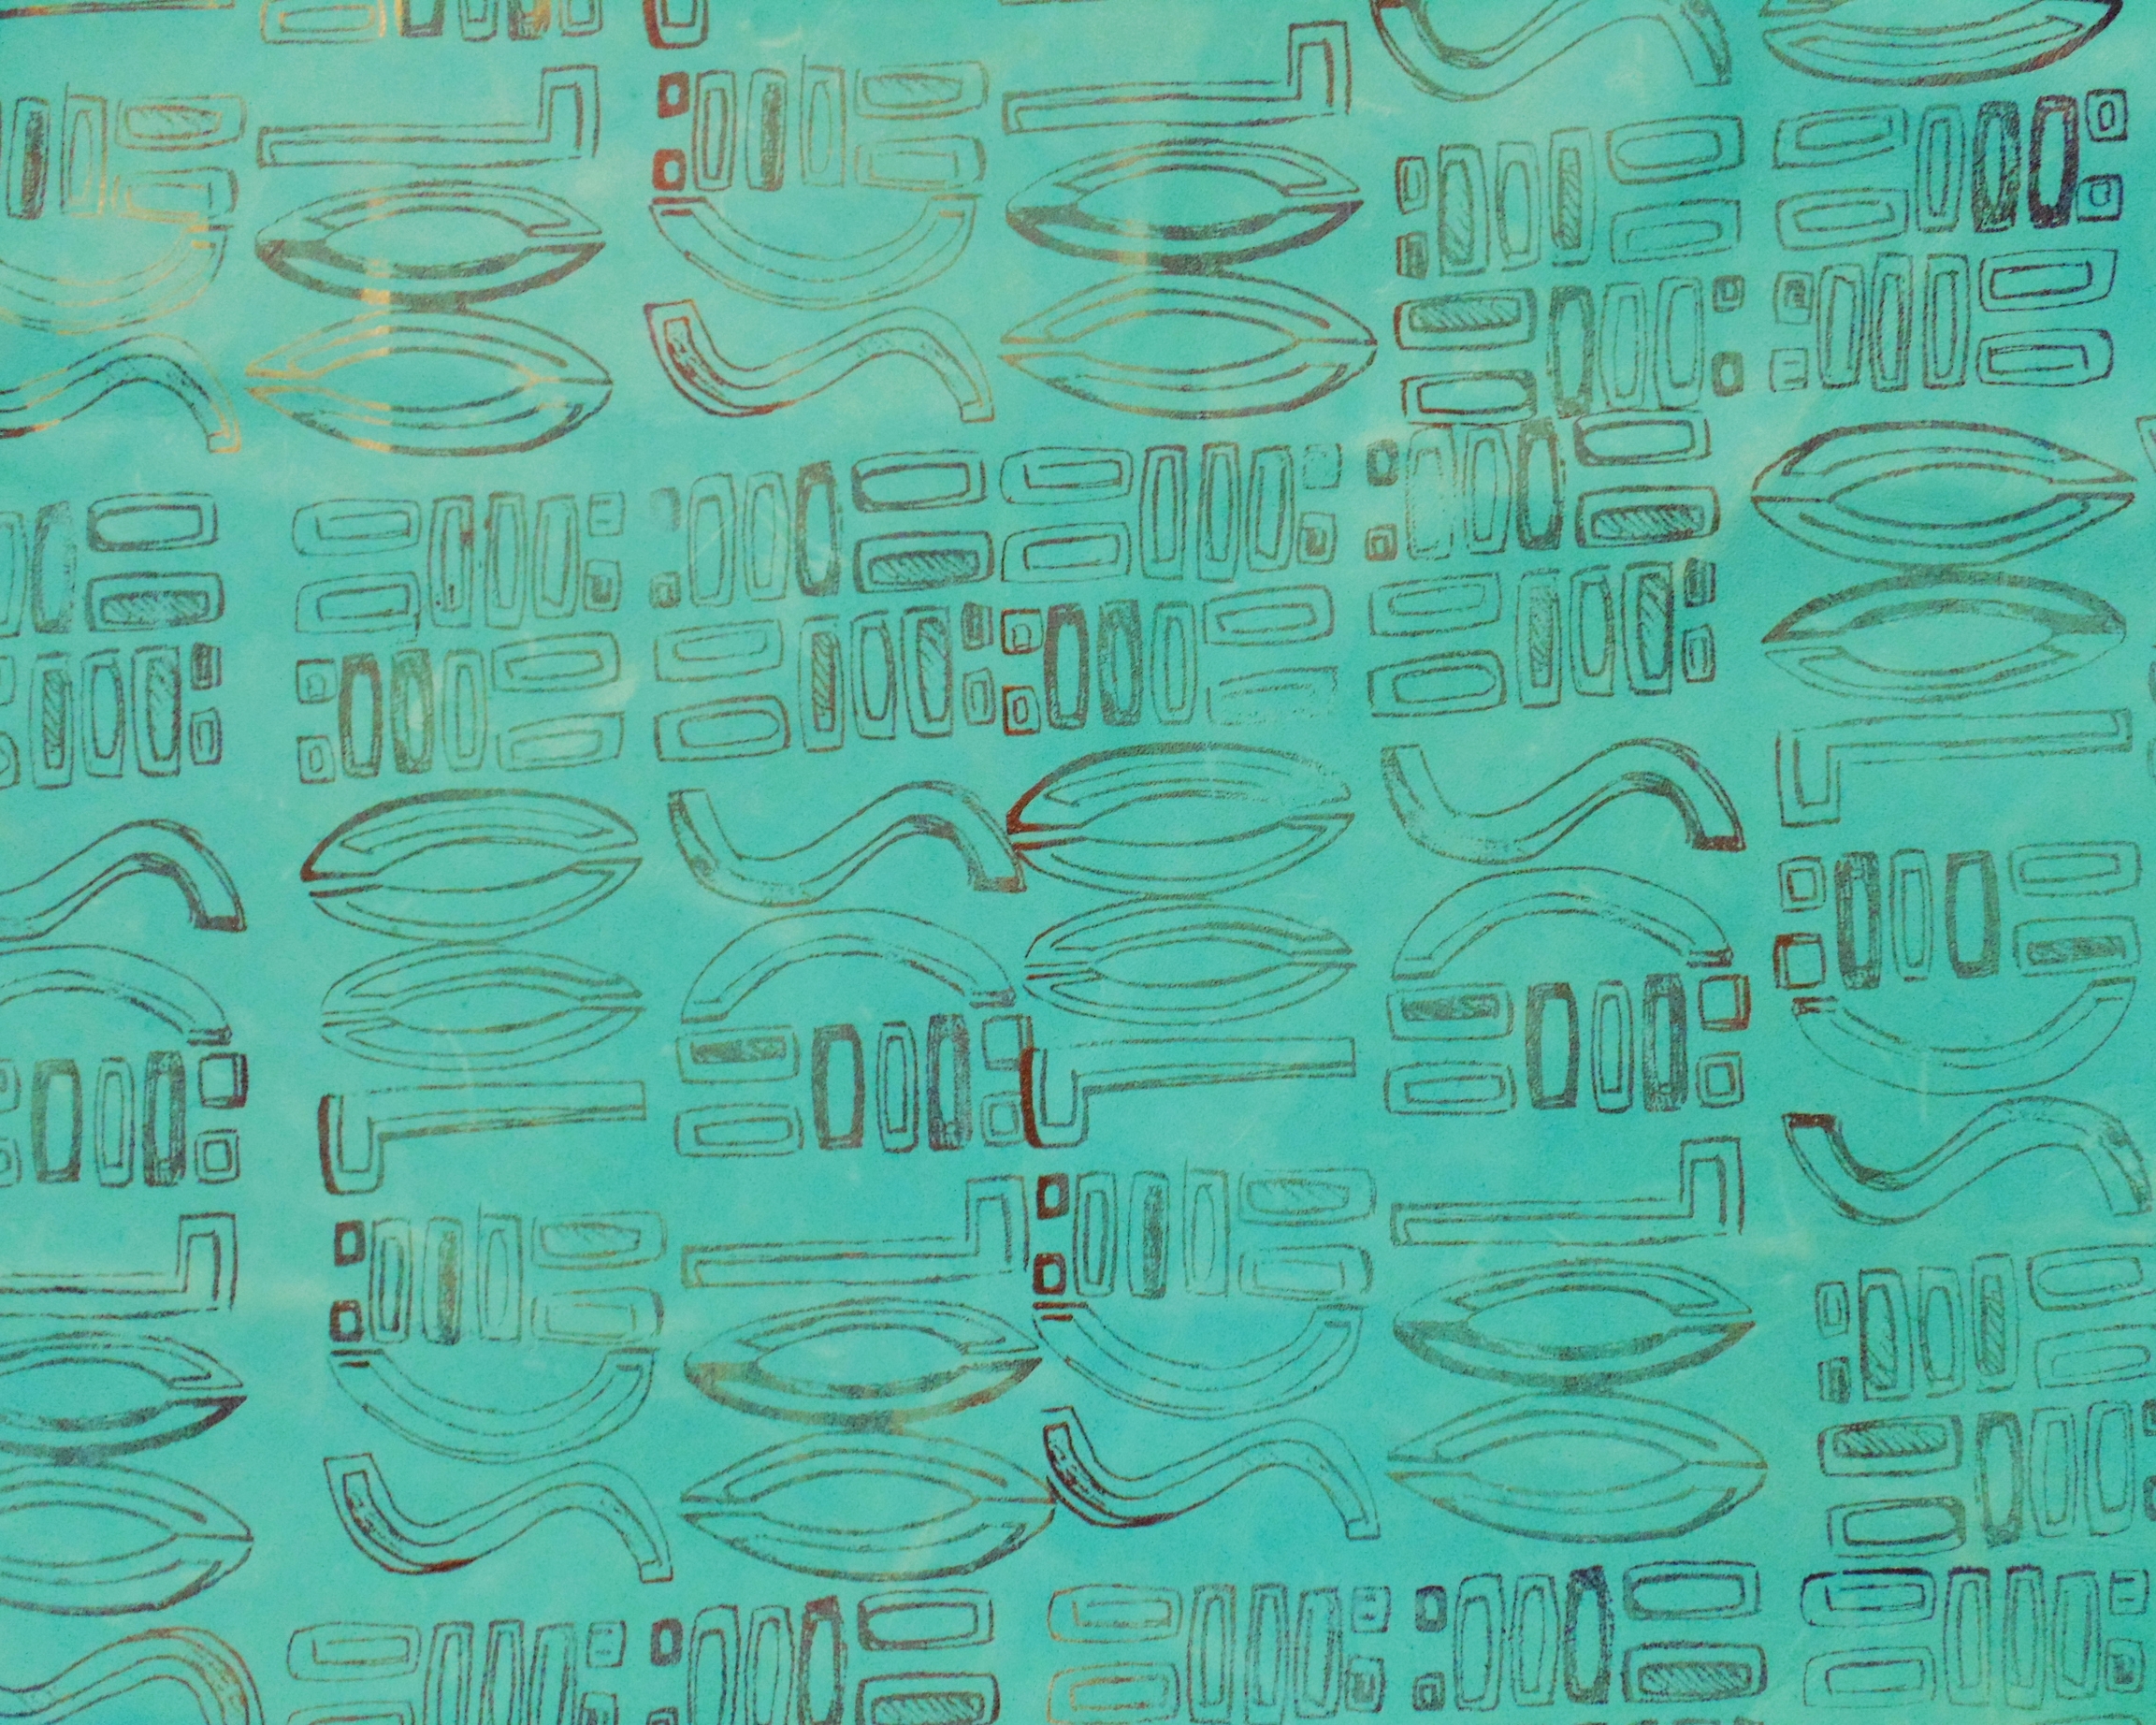
To add some personality and a focal point to the room I've hung one of my mum's brightly coloured paintings of Saint Tropez over the charcoal Victorian fireplace. These cushions add a bold touch against the plain bed linen and the warm wood of the bed frame, although I think I could have been more adventurous by adding a punchy magenta piping or pompom trim! The ceiling lampshade is made from some beautiful silver crushed velvet (in Voyage Mimosa - £30 a metre from John Lewis) and I made sure that I bought extra at the time so that I could incorporate it into some other soft furnishings in the bedroom.

I finally tackled an invisible zip closure rather than my lazy pillow case fold...well I was forced into doing this or otherwise I didn't have enough silver velvet to back all three cushions! But I'm pleased that I did as they give a much more professional finish to my cushions. I also reused some feather cushion inserts rather than the cheap polyester ones and they make such a difference to the way the cushions look and feel.

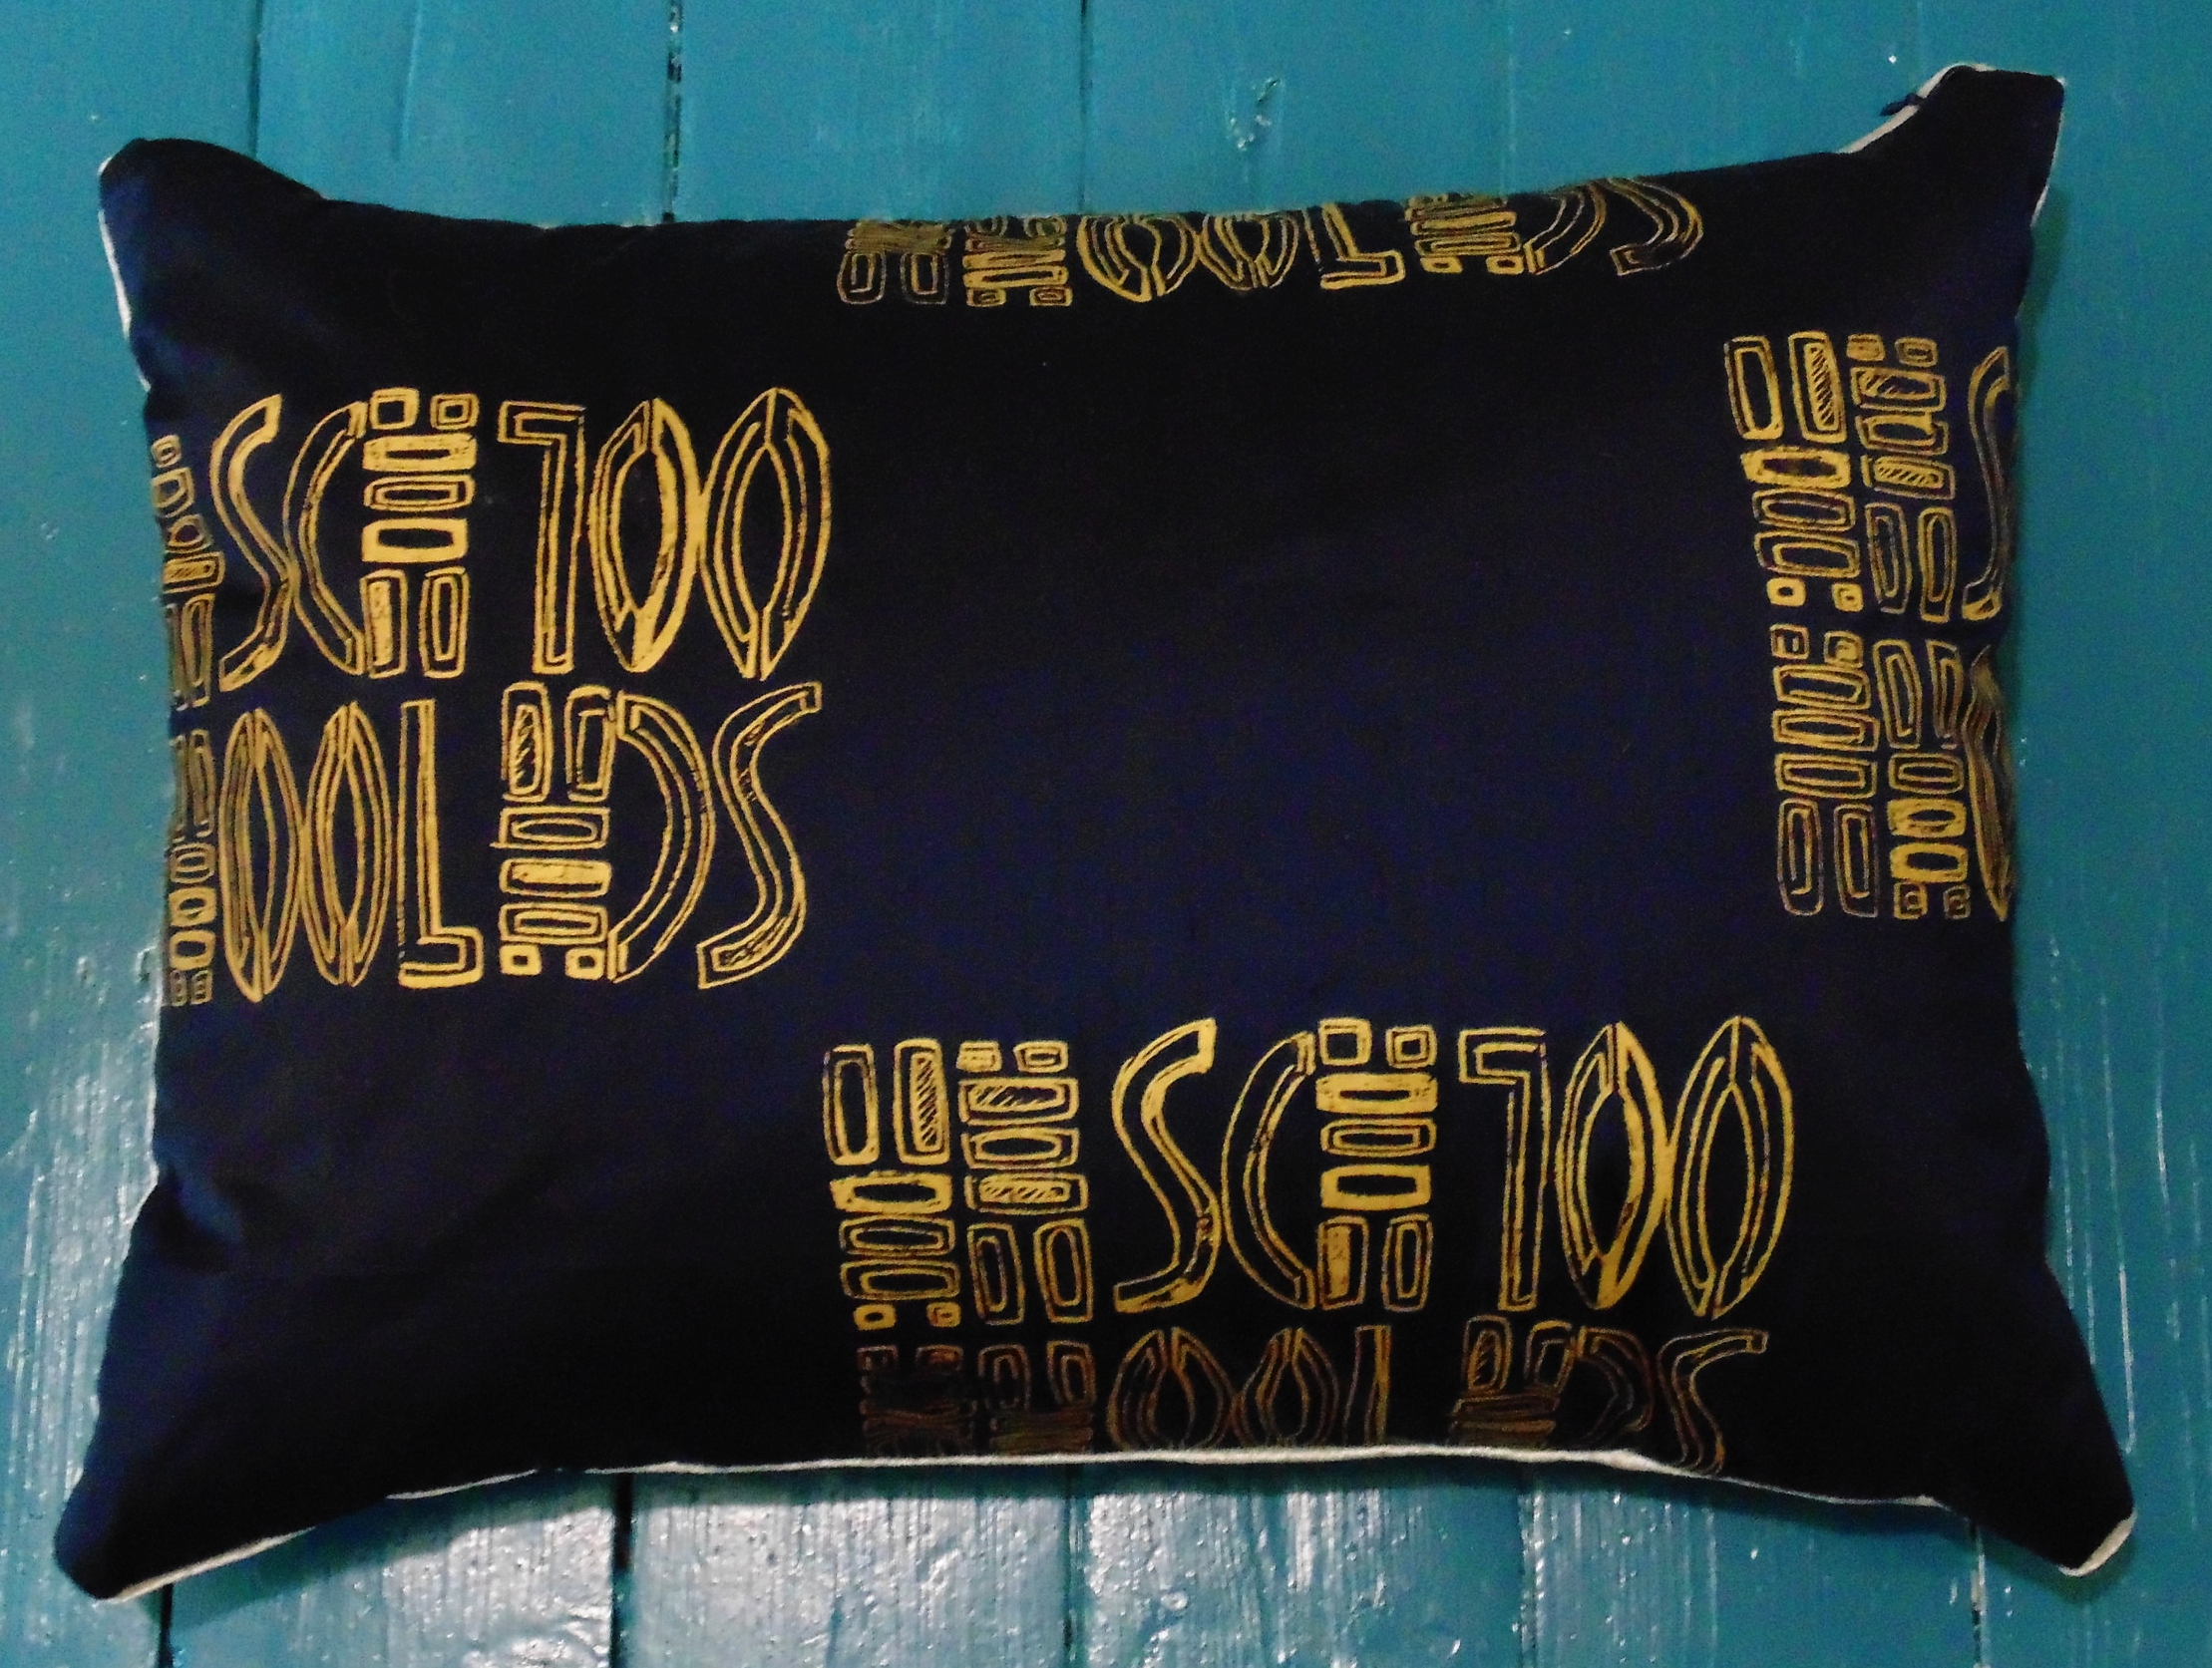
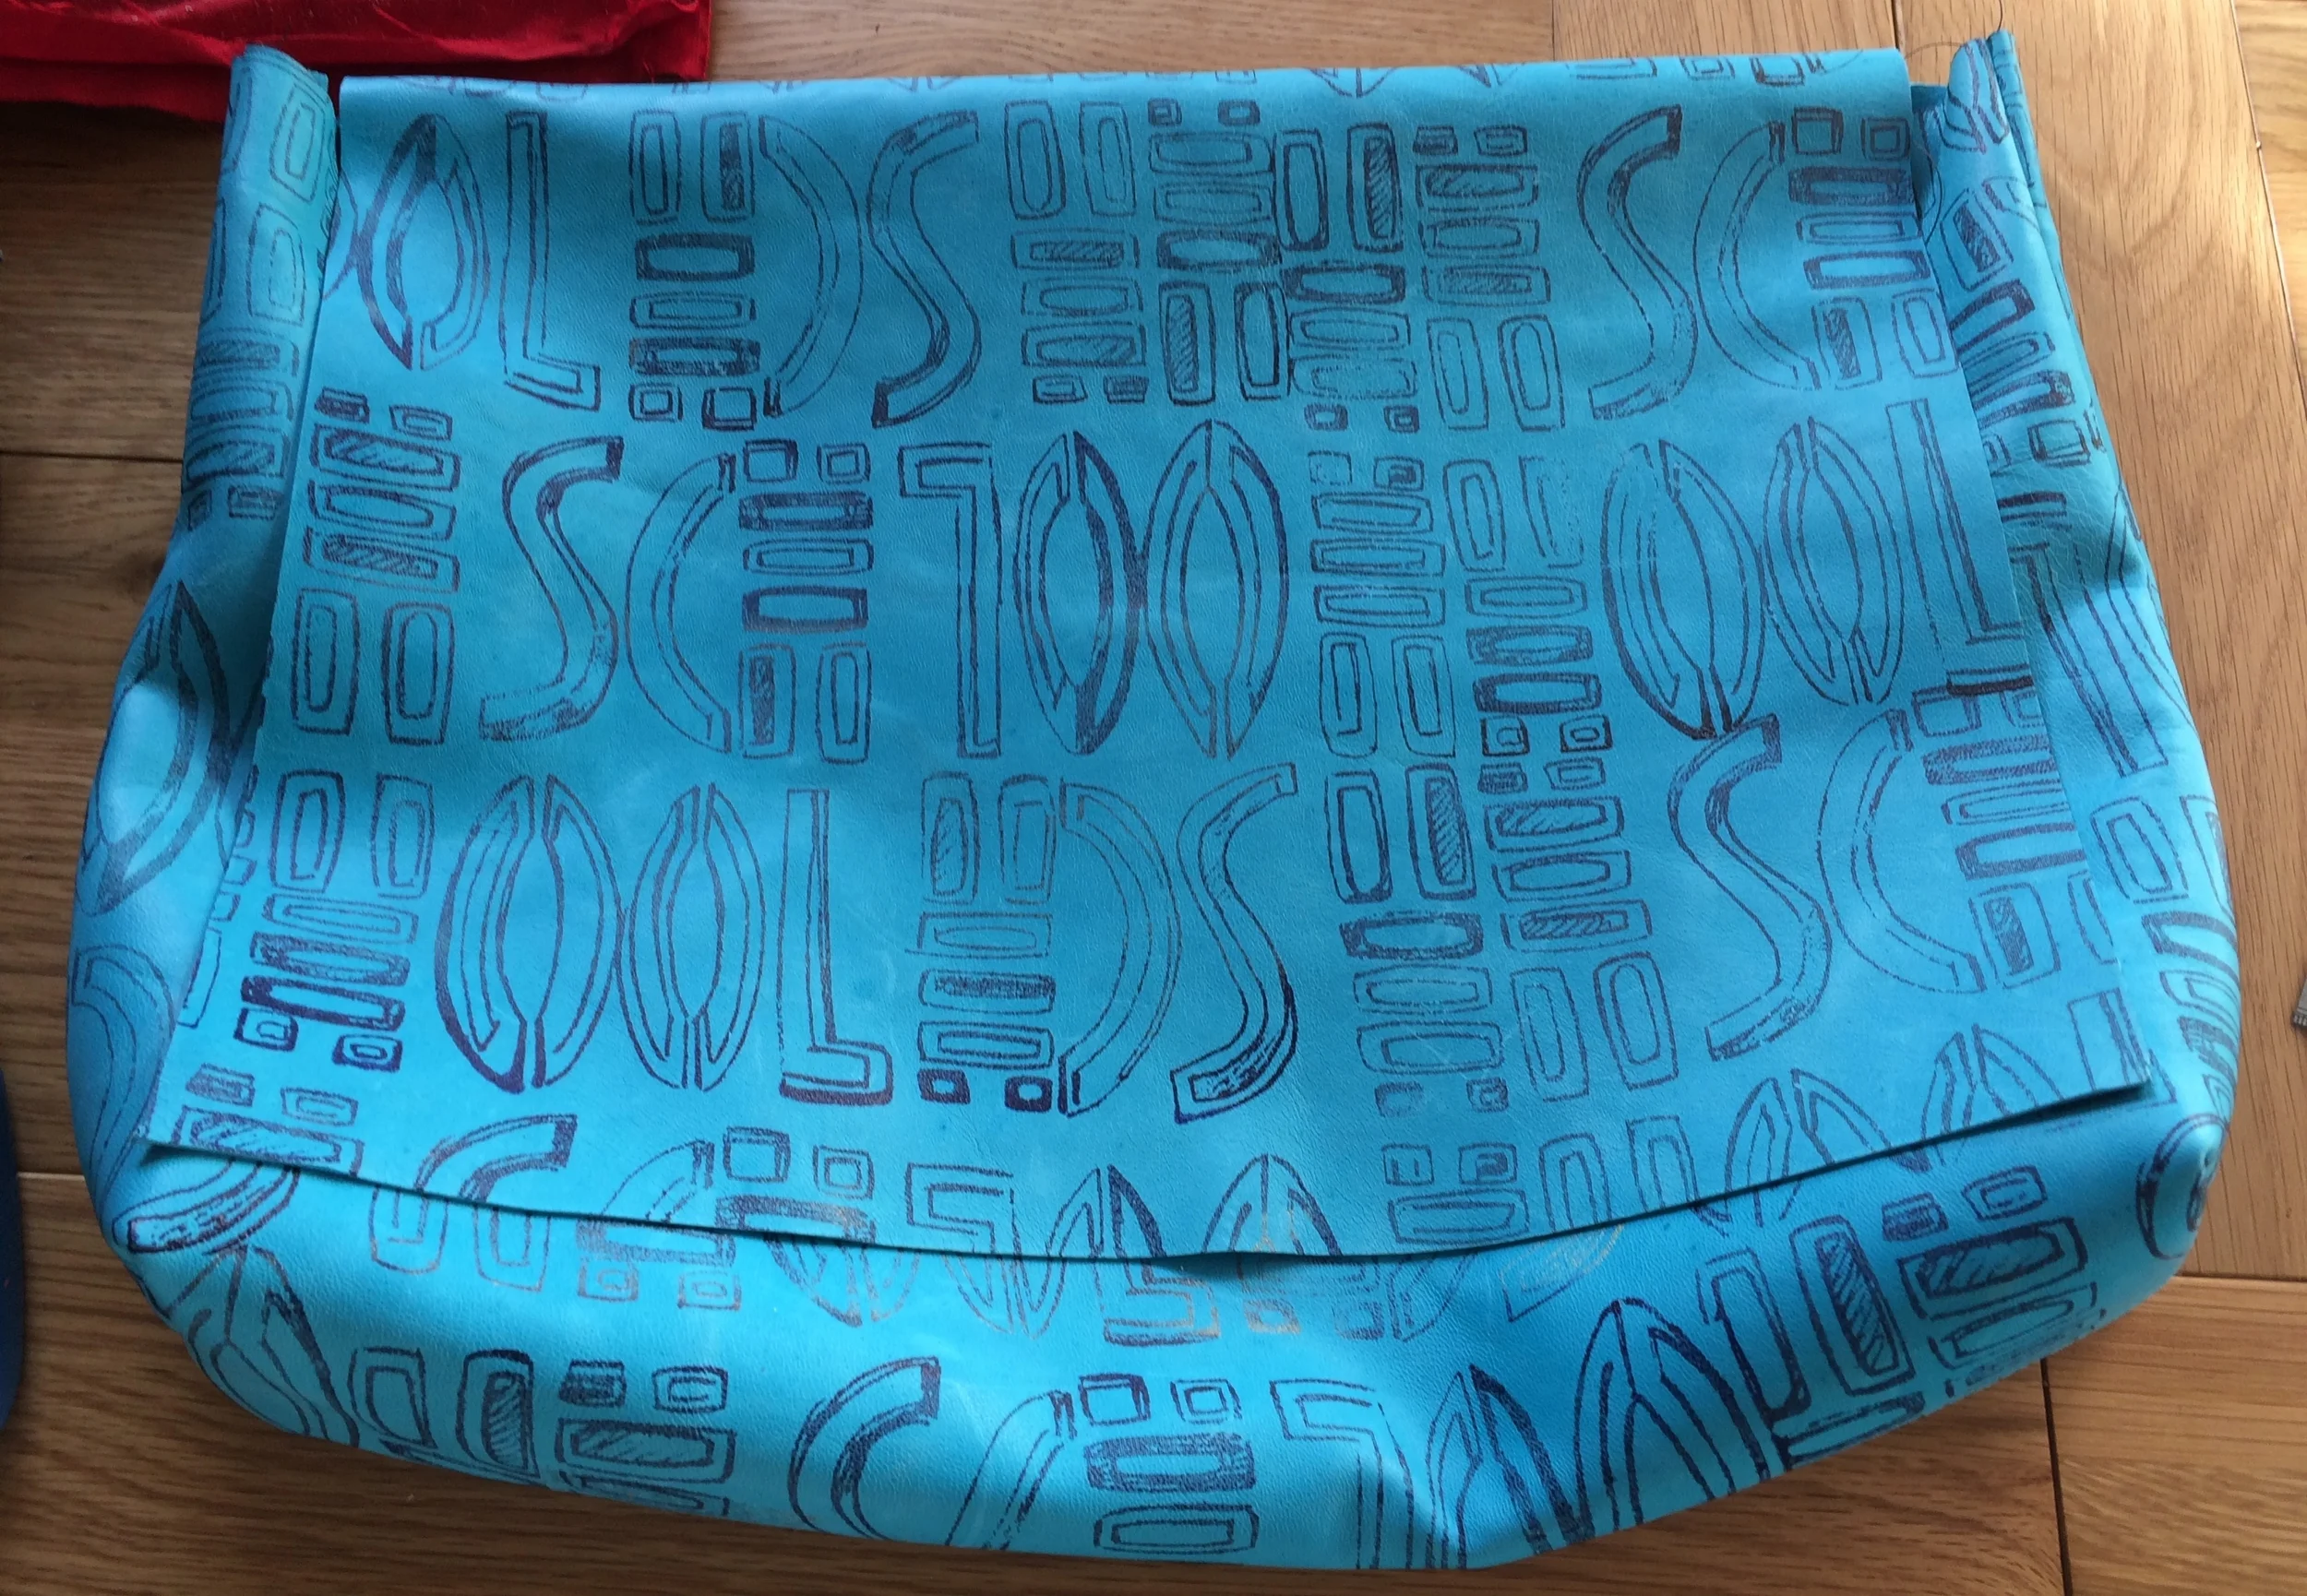
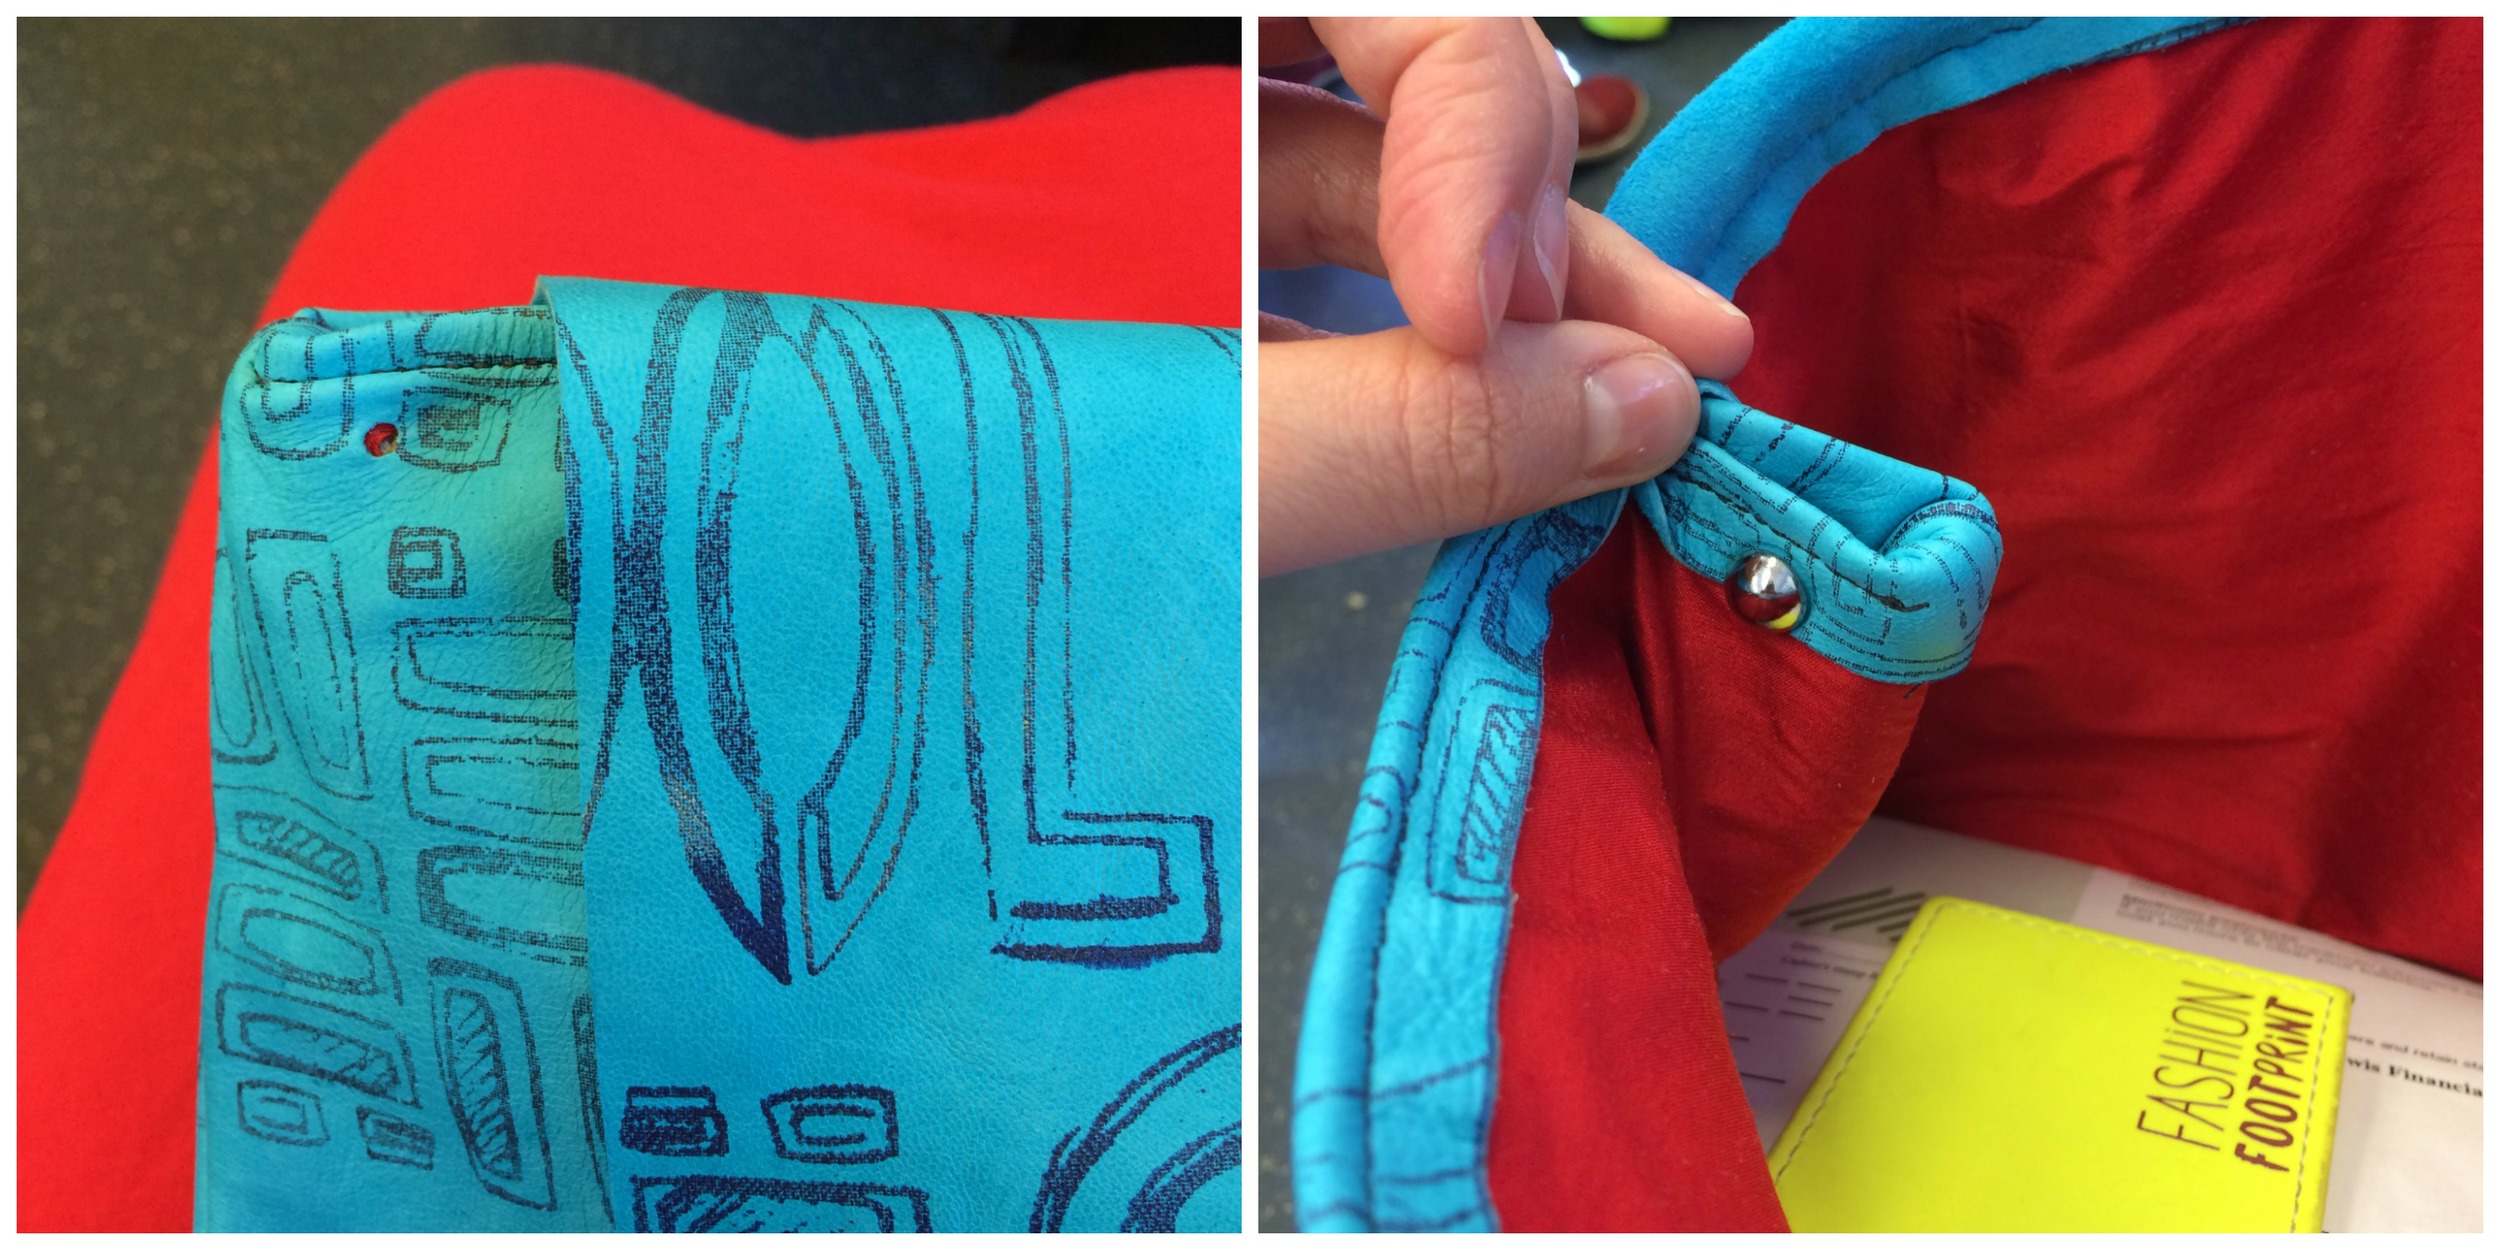
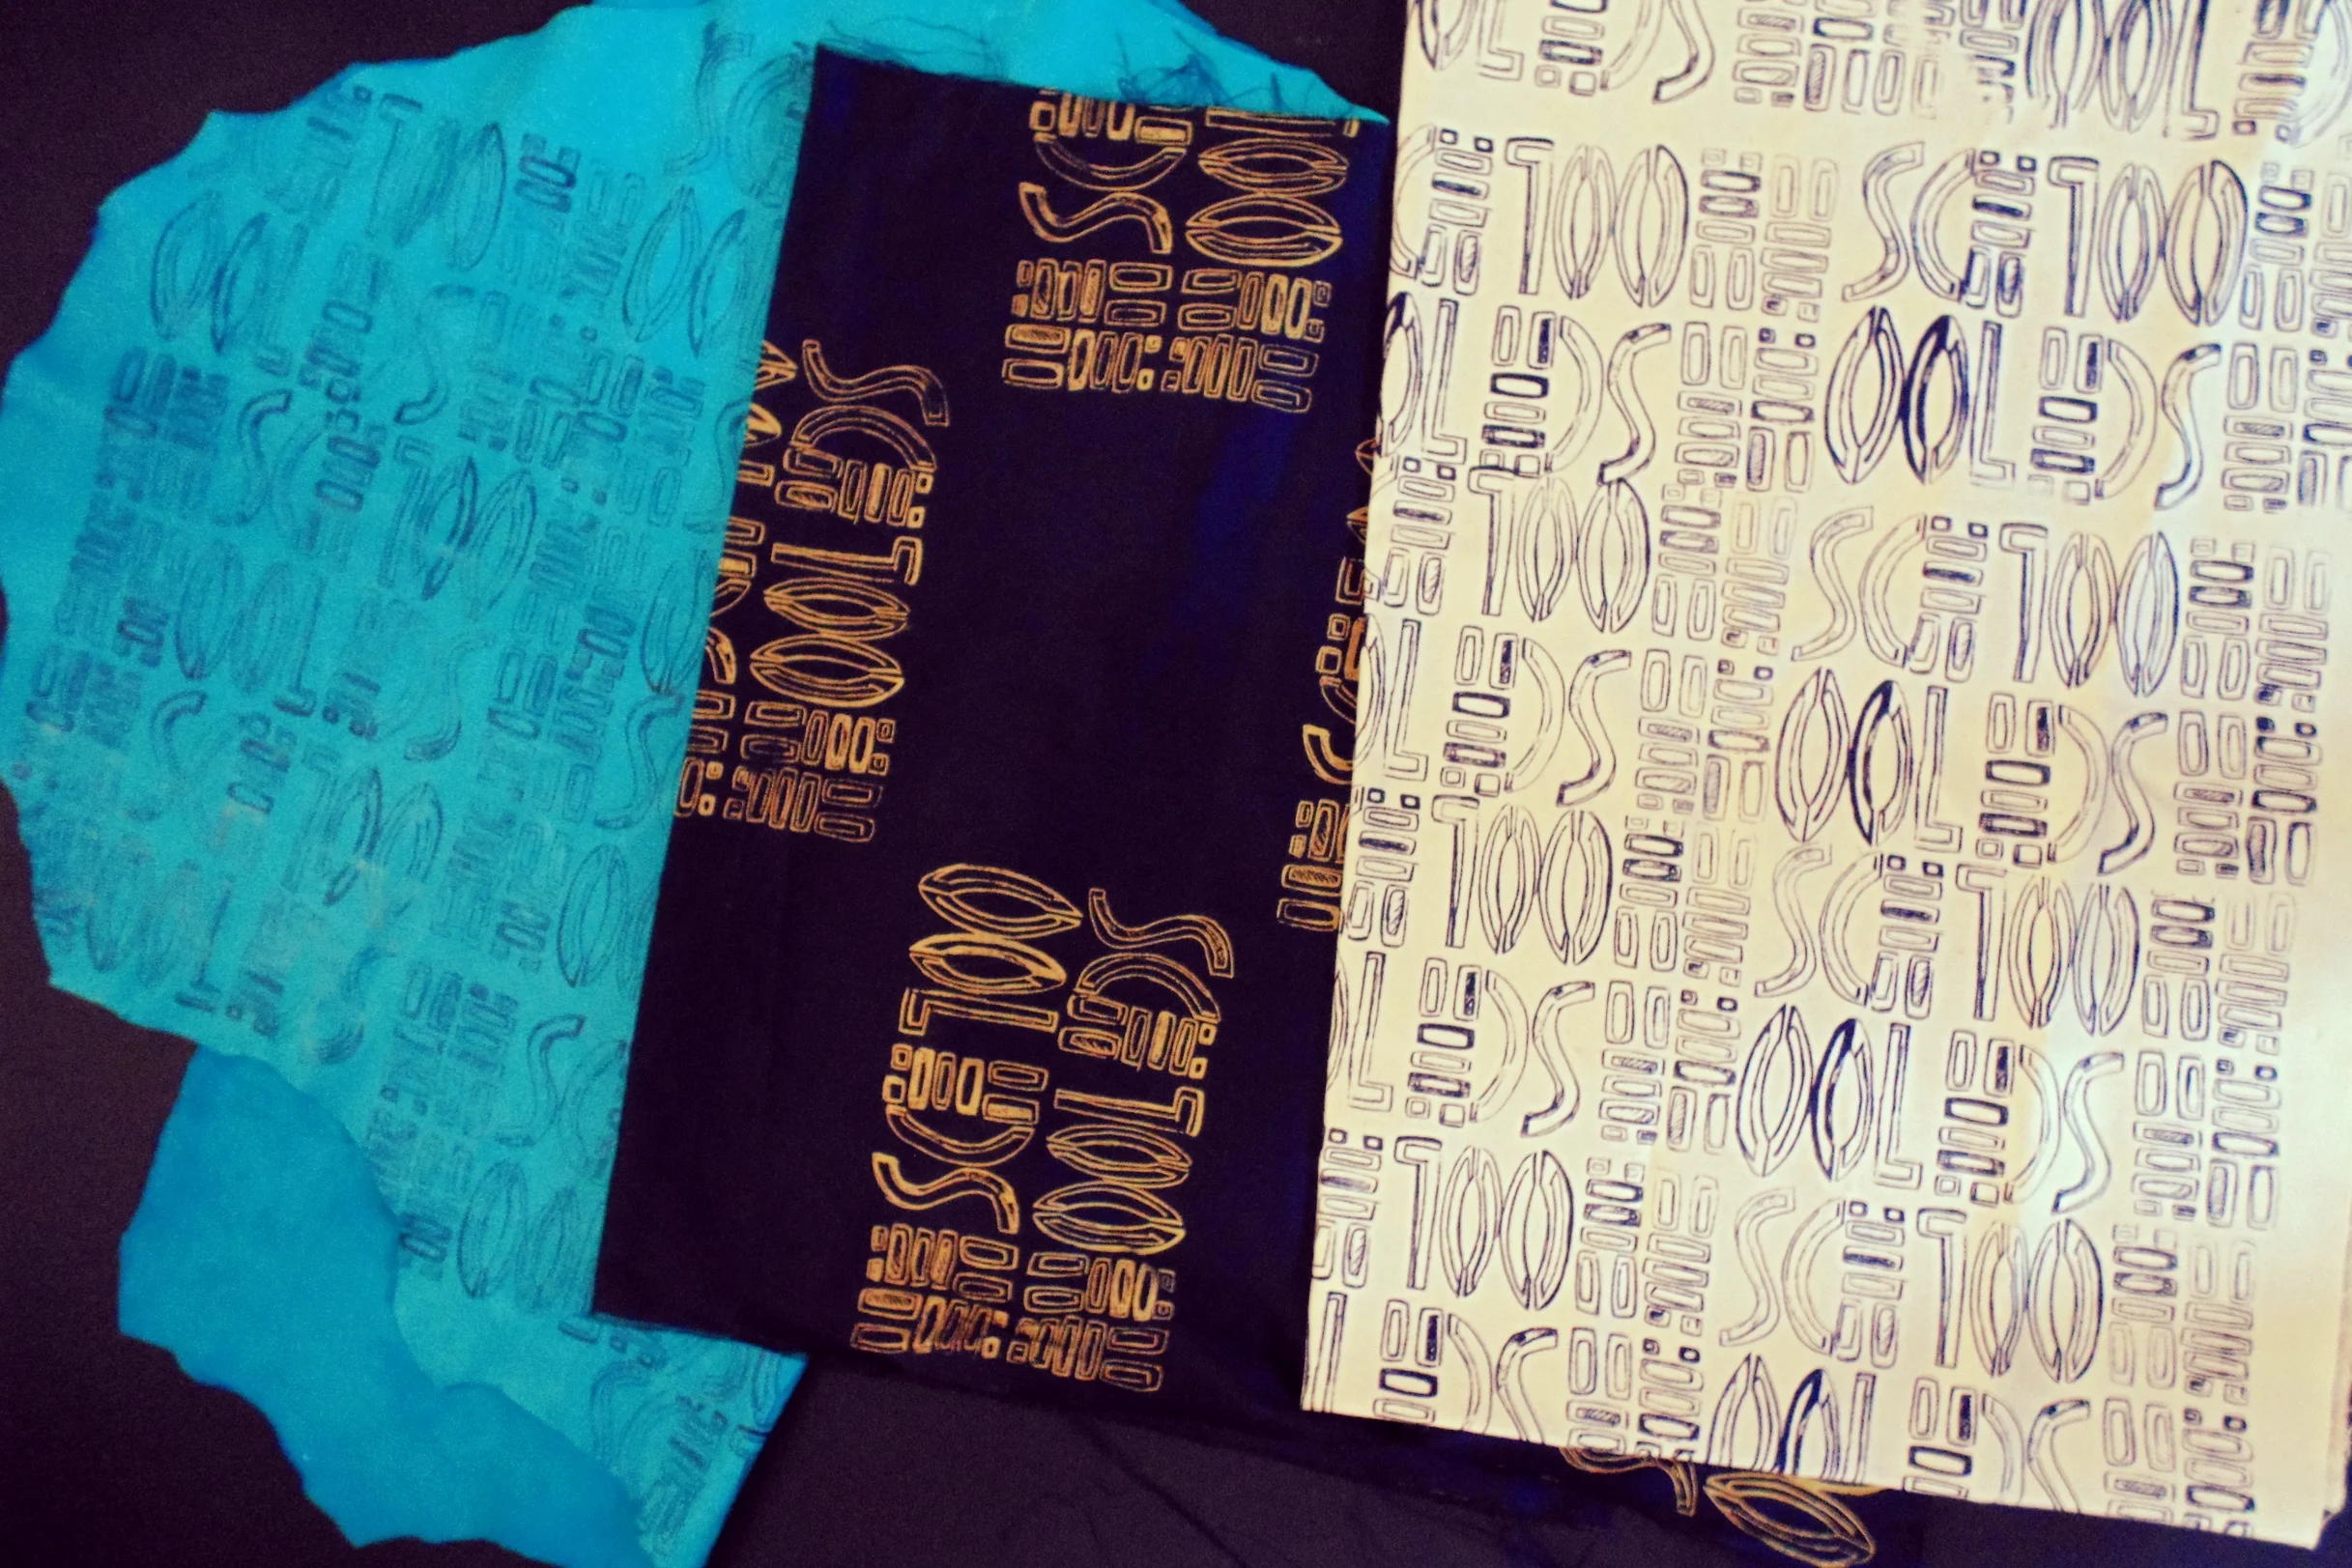
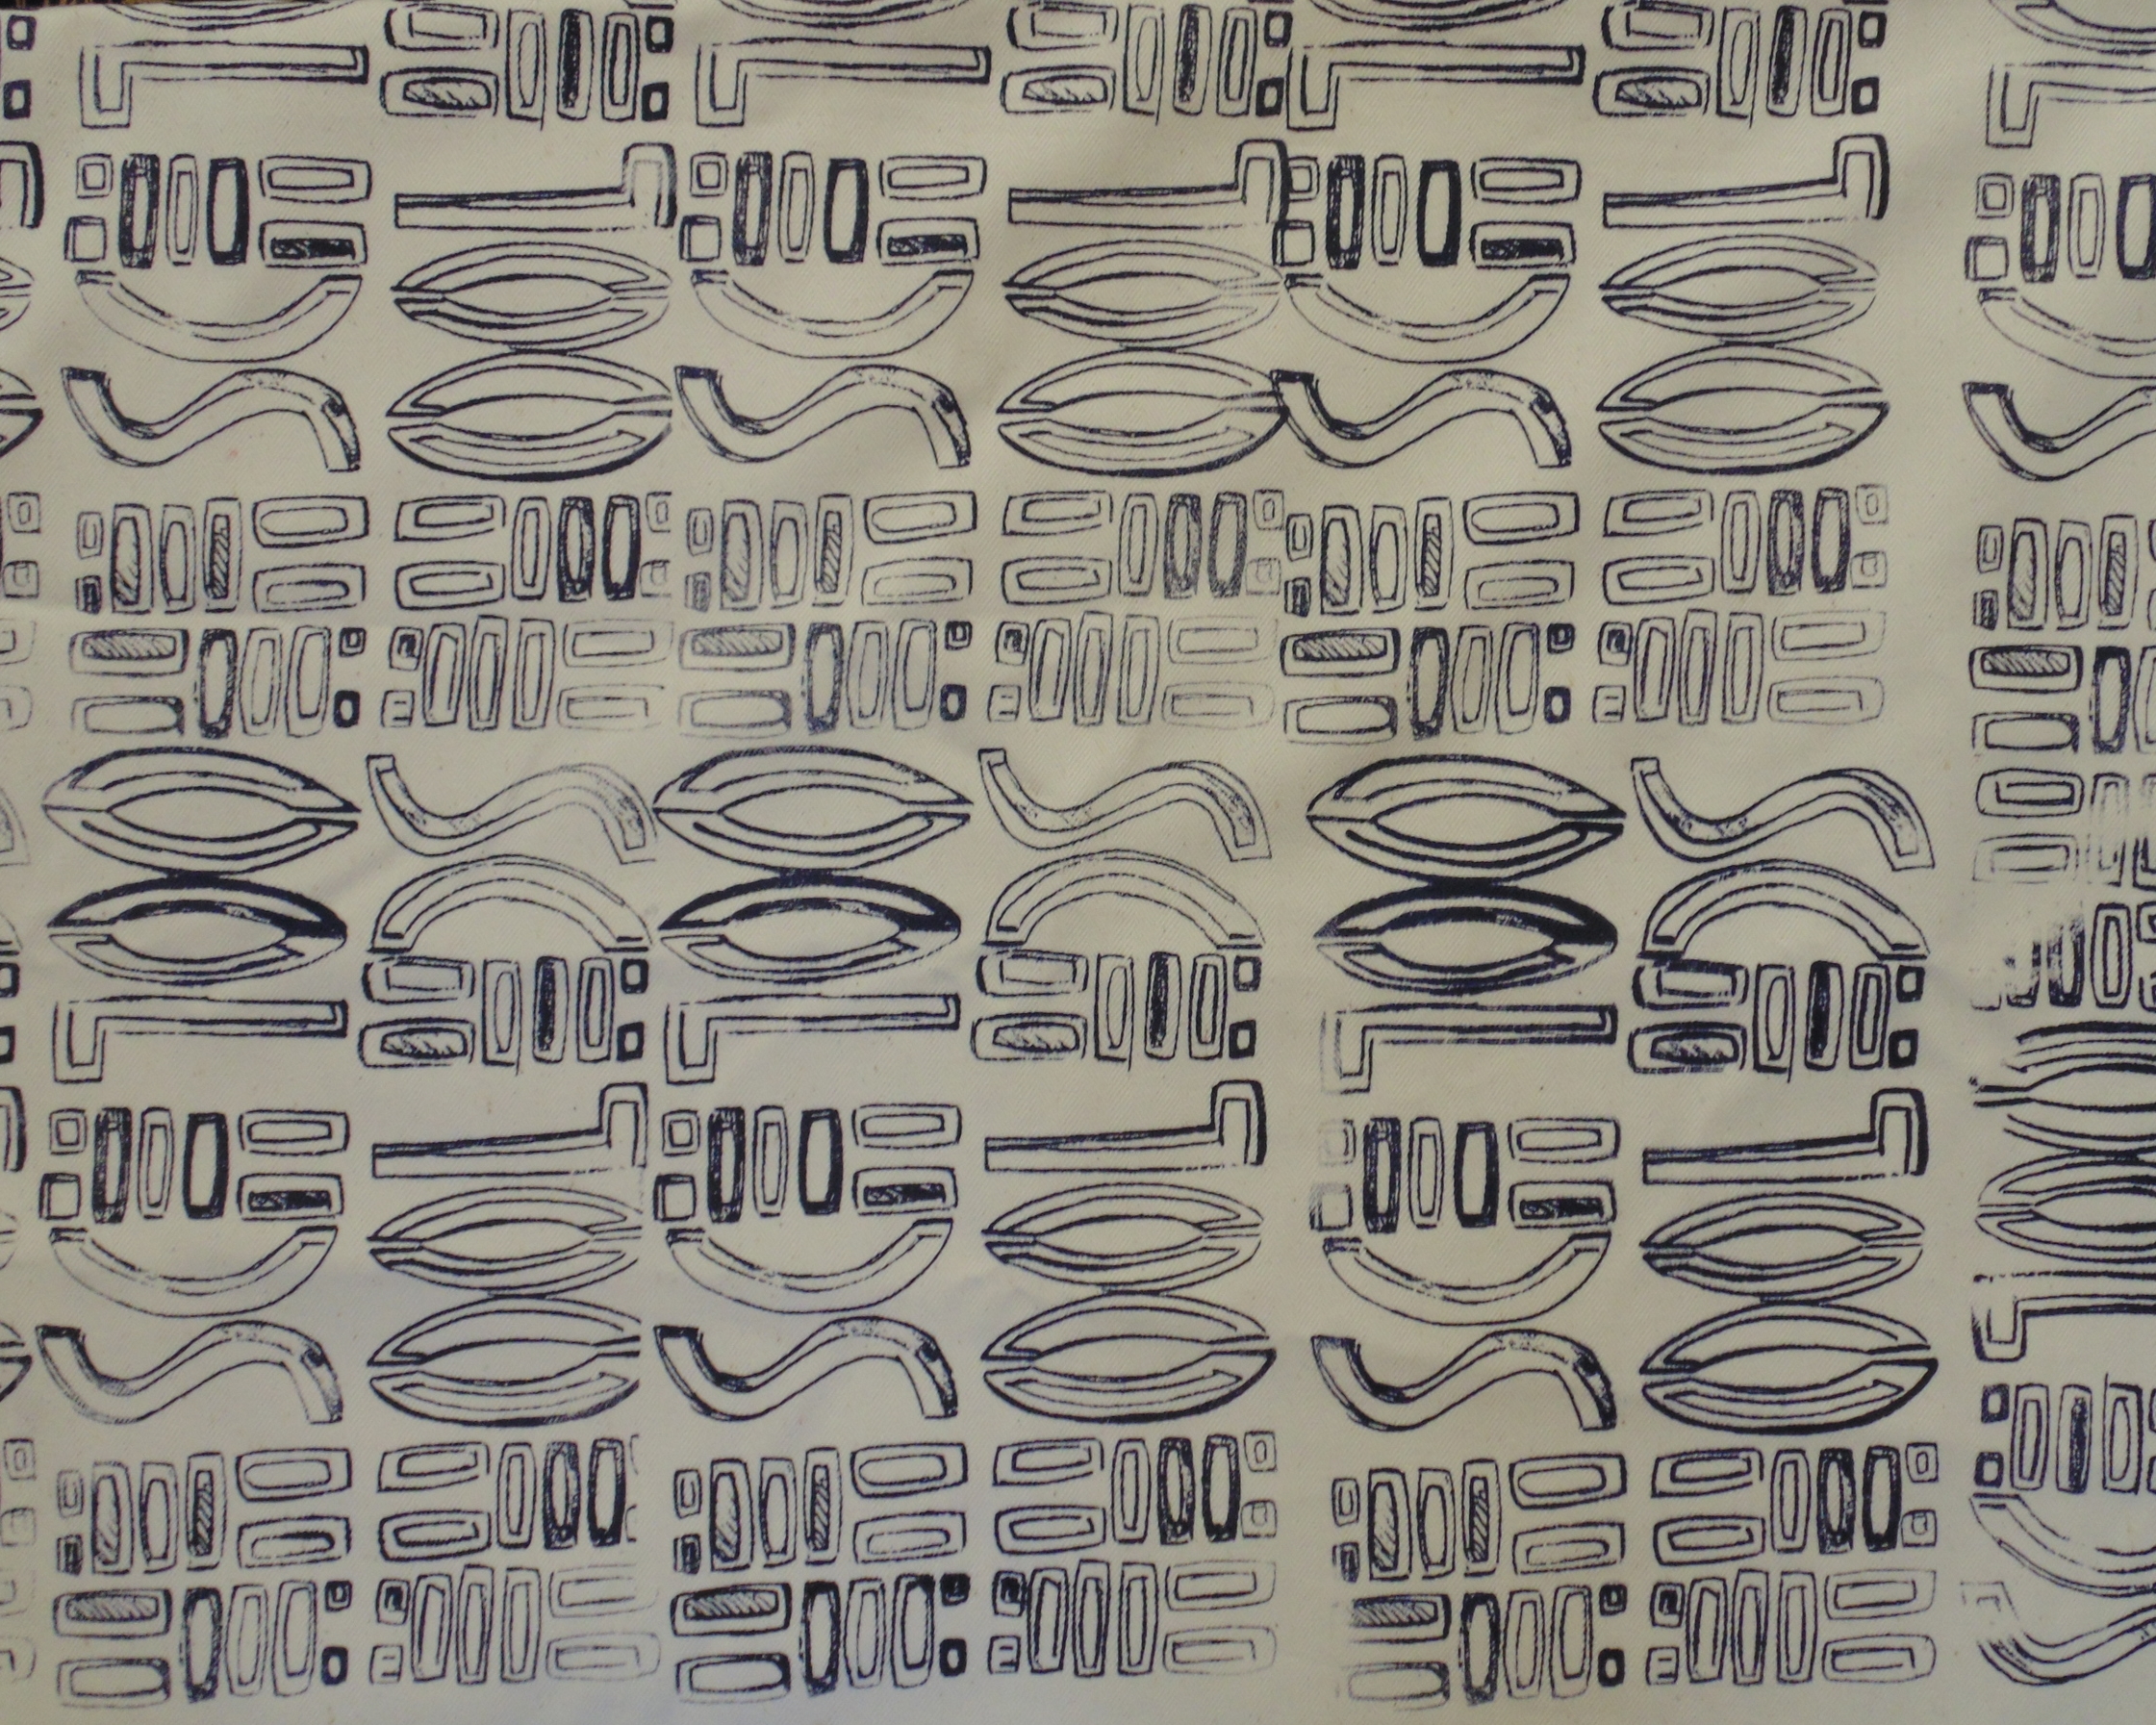
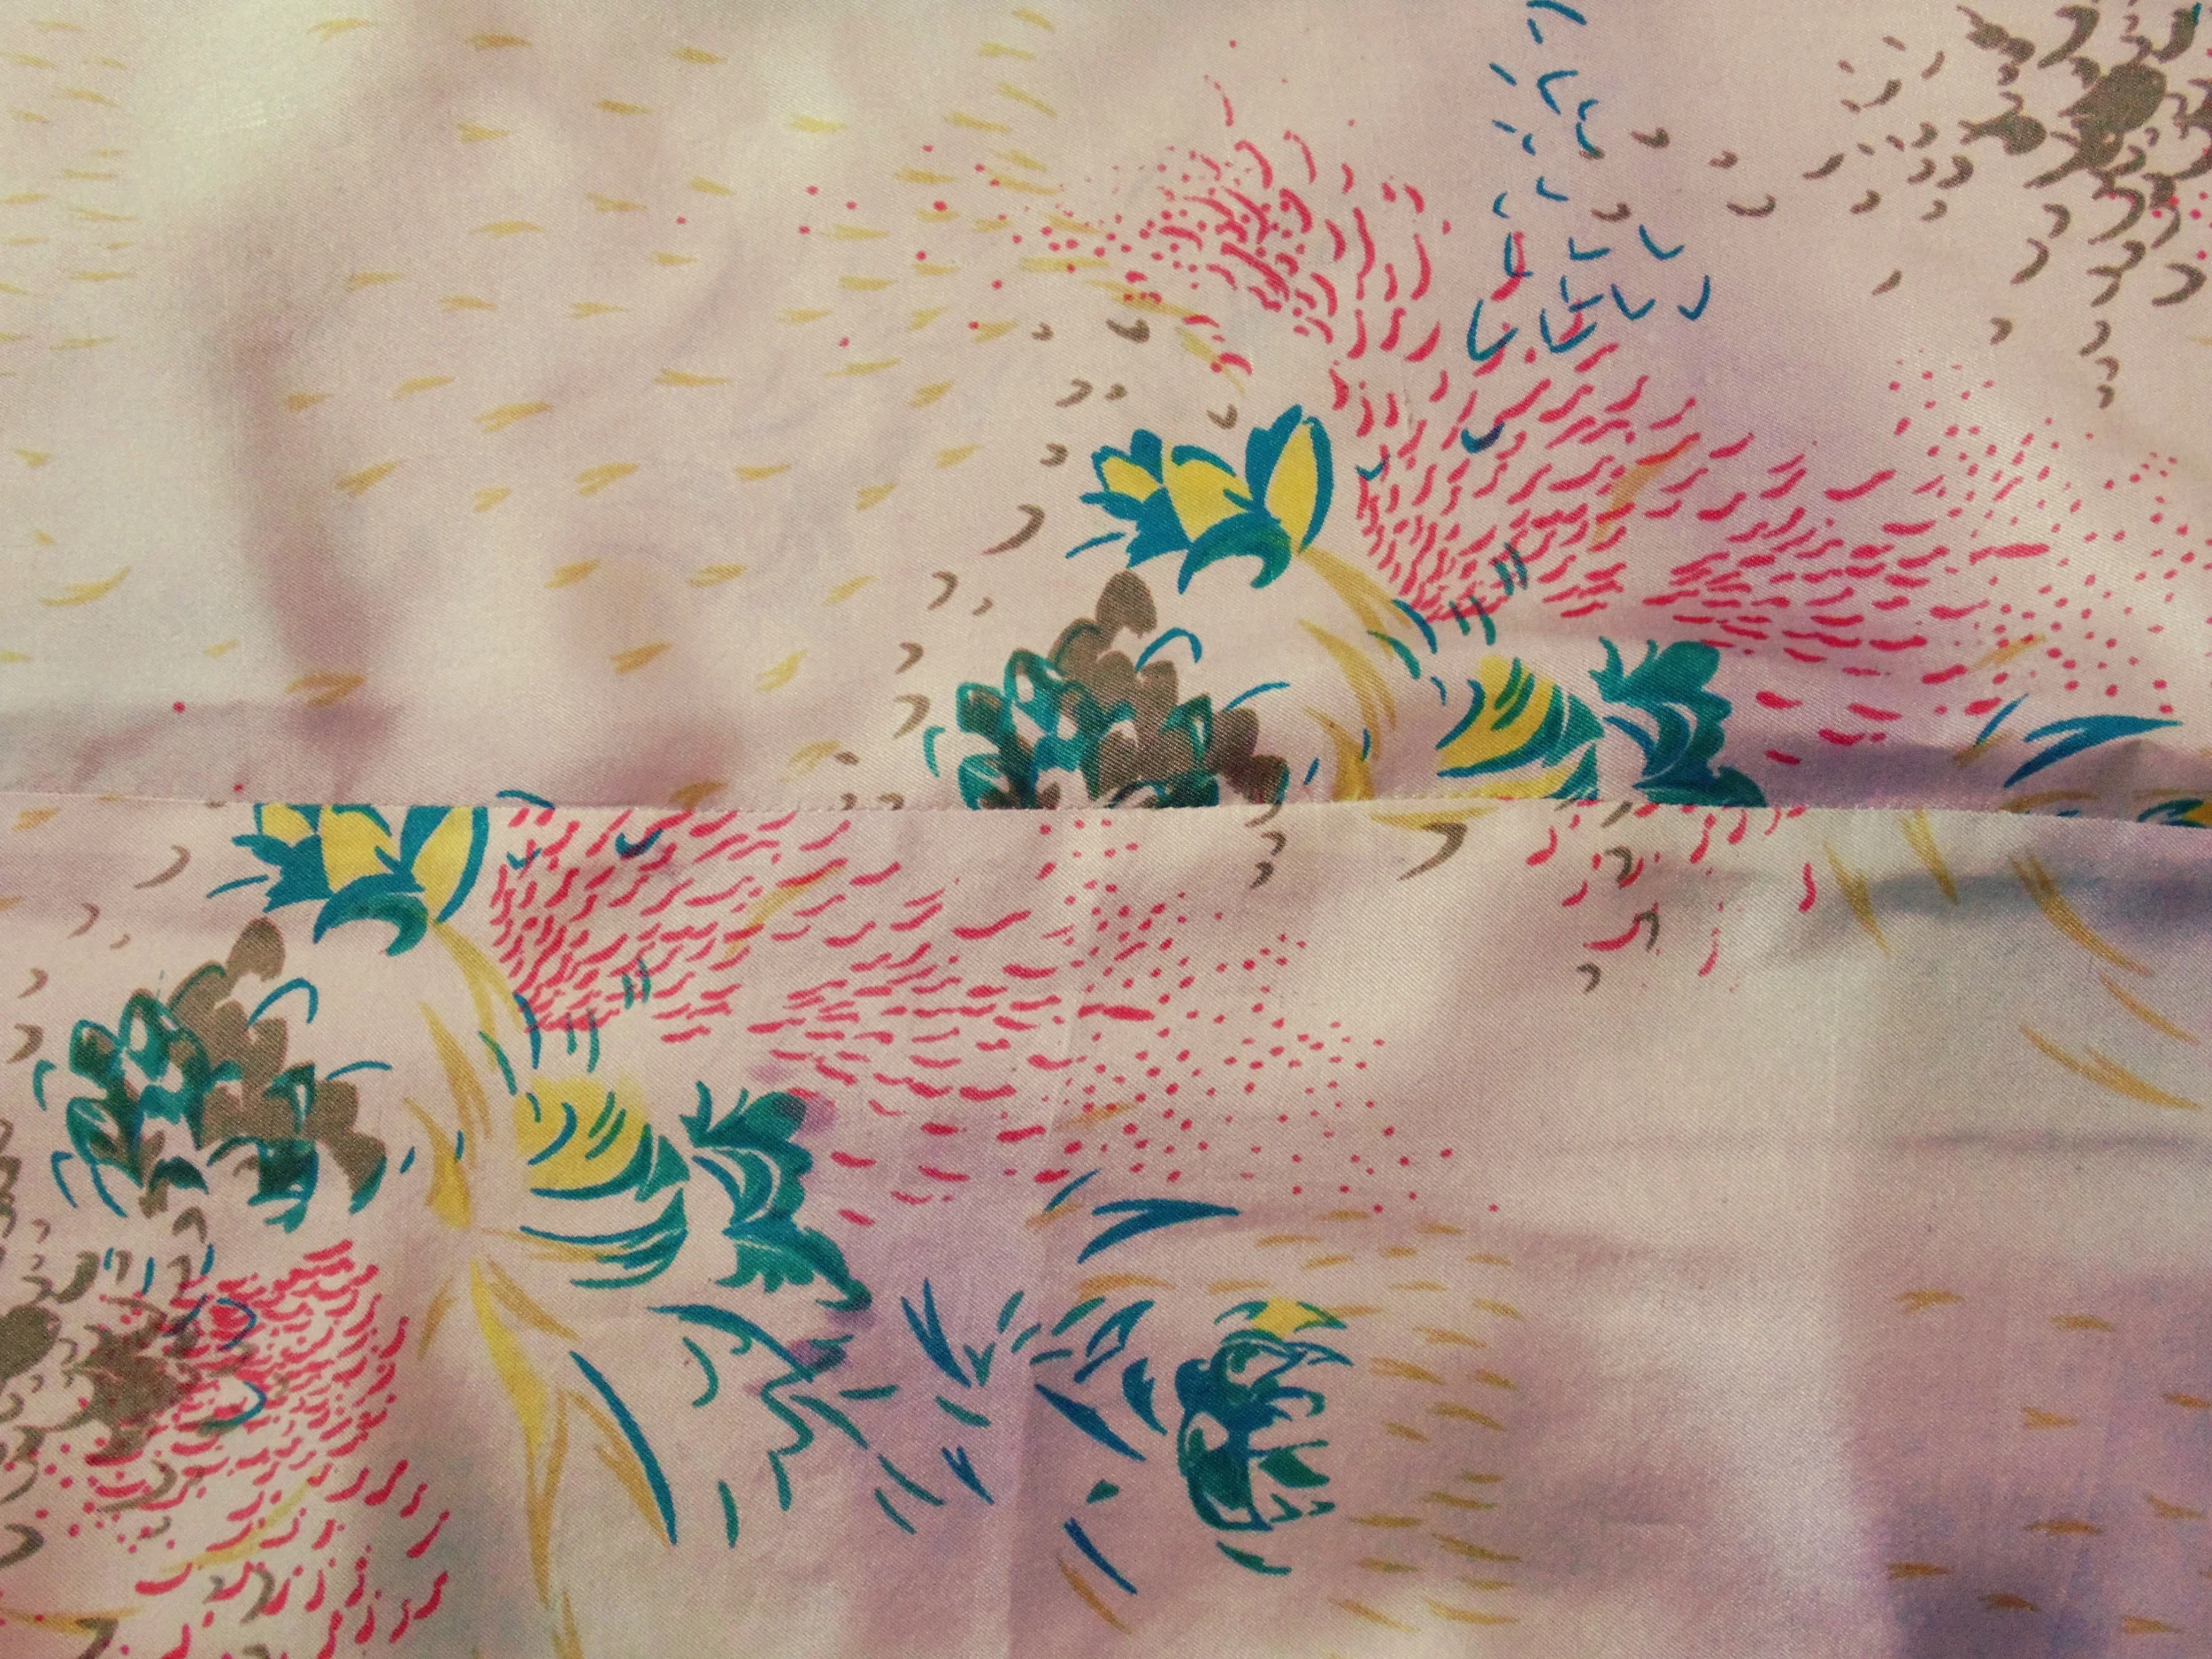
I used two different fabrics for the front side of the cushions. The square cushion is made from a square remnant of a Designers Guild fabric (that I picked up for £1!) and the rectangular cushions I printed myself using my Rennie Mackintosh inspired screen print design on some navy silk taffeta. 

It was tricky to get the pictures right as there is so much sunlight streaming into the bedroom that most of my photos end up overexposed! That said, I'm very pleased with the results of the individual cushions and overall improvement to the whole room :) 

My furry little model Winston! This was the only shot where he stayed still long enough for me to take the photo...shame that you can't really see the cushions.

My furry little model Winston! This was the only shot where he stayed still long enough for me to take the photo...shame that you can't really see the cushions.

IMG_7583.JPG
IMG_7598.JPG
IMG_7597.JPG
IMG_7596.JPG
IMG_7595.JPG

Comment

Bright red tote bag (with hand printed lining and pom pom trim!)

Comment

Bright red tote bag (with hand printed lining and pom pom trim!)

My handbags never seem to be large enough to fit everything that I need and I'm often carrying around a second bag, so I decided to make a large leather tote for my next project. 

I picked up this beautiful pillar box red leather hide from the Tandy Leather factory stand at one of the London craft fairs (they sell online too) well over a year ago and I've always had it earmarked for a project like this. 

To avoid spending hours creating a new bag design, I chose a simple T-shape construction similar to my turquoise leather clutch (minus the flap), with long handles so the bag would sit comfortably on my shoulder. I didn't want to bother with any sort of closure so i added an inside zip pocket into the lining of the bag.

I used some sandy coloured linen for the lining that I had already screen printed with a bright red zebra motif design (the design is based on the body of a zebra, which was then cropped, rotated and repeated in order to create the design). Just before I was about to insert the lining into the bag, I came up with the idea  of adding a pompom trim to the inside of the lining, which I think adds a bit of fun to what is otherwise quite a simple bag!

I'm so pleased with the end result - for once I didn't rush any part of the construction, so the quality of the finishing looks pretty professional!

A close up of the pom pom trim and inside pocked detail

A close up of the pom pom trim and inside pocked detail

The all important details: 

  • T-shaped construction: as with my turquoise leather clutch, I drafted the bag design using teh T-shaped construction method.
  • Straps: In order to create perfectly straight straps for my bag, I used a "strap cutter" for the first time (bought from the Tandy Leather Factory). This is a fantastic tool that takes all the hassle out of cutting long thin strips of leather. 
  • Securing the Straps: I picked up some brass screw rivets from the Tandy Leather factory (apparently they are called "Chicago Screws"), which were just right for attaching my handles to the main bag.
  • Inside Pocket: since my bag wasn't going to have a zip/closure to protect my valuables from pesky thieves, I added an inside pocket to the lining - which was fairly straightforward to do (searching on Pinterest came up with a few tutorials).
  • Finishing the raw edges: I'm not lucky enough to own a skiving machine, so all my bags tend to have raw finished edges (which tends to make them look a bit homemade. To make sure they looked super professional I used the following on the raw edges (all available from Tandy Leather):
    • Eco-Flo Gum Tragacanth: a thin layer of this transparent glue is applied to the raw edges. Before the glue dries, you use an "edge slicker" (see below for photos) to repeatedly rub the edges. The heat produced from friction of rubbing the wet glue with the edge slicker appears to smooth out the corners of the raw leather edges. This process is known as burnishing and can be repeated several times to achieve the desired level of burnish; and
    • Fiebings Edge Kote: once the edges have been neatened up with the Gum Tragacanth, you can "paint" the raw edges with Edge Kote (available in a multitude of colours and comes either in acrylic or dye) for a final professional touch. I chose black acrylic which was nice contrast against the bright red leather.
  • Optional Detail: I hadn't noticed that the leather had some scratch marks and other imperfections across much of the hide (that'll teach me for buying it on the cheap!). I was going to add a strip of  black suede leather to sit over the centre of each side of the bag to cover some of these marks (screen printed with the same zebra motif design used for the lining) but ultimately I decided against it...
I used a simple T-shaped construction for my bag, with the top of the bag being wider than the bottom to create the classic tote bag shape.

I used a simple T-shaped construction for my bag, with the top of the bag being wider than the bottom to create the classic tote bag shape.

Pattern pieces for the leather and lining all cut out and ready to sew (the leather hide wasn't big enough so I had to cut the bag in 2 pieces

Pattern pieces for the leather and lining all cut out and ready to sew (the leather hide wasn't big enough so I had to cut the bag in 2 pieces

A close up of the handles showing how accurate that strap cutter was (and my stitching wasn't too bad either!)

A close up of the handles showing how accurate that strap cutter was (and my stitching wasn't too bad either!)

The lining of the bag, before the pom pom trim was attached, showing my hand printed zebra design and inside pocket detail.

The lining of the bag, before the pom pom trim was attached, showing my hand printed zebra design and inside pocket detail.

essential pieces of equipment:

The fantastic strap cutter, which eliminates all the stress of cutting long strips accurately! You can just about see how it works from the bottom diagram on the instruction sheet.

The fantastic strap cutter, which eliminates all the stress of cutting long strips accurately! You can just about see how it works from the bottom diagram on the instruction sheet.

Clockwise from left to right: the edge slicker; used in conjunction with the Gum Tragacanth to burnish and neaten the raw edges; Fiebing's leathercraft cement (i.e. leather glue!); Edge Kote to paint the raw edges; and finally the brass screw rivets…

Clockwise from left to right: the edge slicker; used in conjunction with the Gum Tragacanth to burnish and neaten the raw edges; Fiebing's leathercraft cement (i.e. leather glue!); Edge Kote to paint the raw edges; and finally the brass screw rivets (or Chicago screws as the website calls them).

Comment

Hand printed turquoise leather clutch bag

1 Comment

Hand printed turquoise leather clutch bag

I have been waiting ages to complete this clutch bag. I bought this butter-soft turquoise leather hide at one of the Knit and Stitch craft shows in London well over a year ago.  The hide was only £10 as it was covered with light scratch marks, so it was the perfect candidate for trying out some screen printing on leather. I used my Art Deco / Charles Rennie Mackintosh inspired screen design with some navy blue screen printing ink (Jacquard professional) so it would show up against the bright turquoise leather. Once I had screen printed over the entire surface of the leather with, most of the imperfections were well hidden by the intricate design. 

The leather hide was quite thin (possibly intended for garment making rather than bags). Although I wanted a slouchy finish to my clutch bag, it needed a bit more body/structure. I picked up something called "spacer" material from the Cloth House clearance sale on Berwick Street in London ages ago (I'm told that it is used to add structure in garment making so it seemed like the right choice).

After a nice few warm sunny days this week, I thought Spring had finally sprung, but the grey clouds and colder temperatures have returned! So despite finally finishing this little bag, it definitely goes with more of my summer clothes so will have to wait a little longer for its first big outing!

The all important details:

  • Bag pattern: I designed the patten pieces myself using a "T- shaped" bag construction. I find this one of the easiest bag constructions to design and make as you only need one pattern piece for the body of the bag, and (if your bag needs one) a separate piece for a flap...meaning minimal stitching time, which is great when you're using a domestic sewing machine that often struggles with leather;

  • Tips for sewing leather using a domestic machine: I changed my sewing machine footer to a walking footer and changed the needle to a leather needle; I adjusted the tension on my machine and used bonded nylon thread rather than regular thread (as is commonly used for upholstery - Coats is a great brand);
  • Magnetic closure: I used a set of hidden magnets to secure the bag closed, the first stitched into the lining of my bag and the second hidden within the decorative detailing on the front of the bag flap;
  • Adding structure using "Spacer" material: this was my first attempt at using this material which looks like layers of webbing or netting. It bends and moves easily which is helpful when turning the bag inside out, but keeps its shape.  
  • Using Rivets: something I've noticed with a t-shape construction, is that the side gussets poke out past the end of the flap....which isn't very nice to look at. Rivets are usually used to secure handles to bags, but a couple of carefully positioned rivets pinching the side gussets inwards worked perfectly to hide the excess side gusset. Perhaps next time, I won't use the spacer material for the entire the bag and only use it to add extra body to the front and back. 
The shape of the bag pattern, showing the measurements of the height and width of the bag; the depth of the gussets; seam allowance and fold lines. 

The shape of the bag pattern, showing the measurements of the height and width of the bag; the depth of the gussets; seam allowance and fold lines. 

My leather hide cut out to size (flap not shown). I also cut out the same size in the lining and spacer fabric.  

My leather hide cut out to size (flap not shown). I also cut out the same size in the lining and spacer fabric.  

Rivets: before and after. The rivets were carefully positioned to pinch the side gussets inwards to stop them poking out past the edge of the flap. 

Rivets: before and after. The rivets were carefully positioned to pinch the side gussets inwards to stop them poking out past the edge of the flap. 

1 Comment

Art Deco style screen printing!

1 Comment

Art Deco style screen printing!

I absolutely love Art Deco and the style of Charles Rennie Mackintosh. The different shapes and marks used in many of his designs were perfect inspiration for a new screen print design. One of Rennie Mackintosh's famous projects was the Glasgow School of Art in Scotland, and I used the school signs and the library lampshades to create an effective design that could be used with a screen print. 

The final design is quite versatile and can be printed in repeat in rows, spaced blocks or used to create different pattern effects.

I chose to print on 3 different fabrics: (i) some cream cotton twill that I found in the Cloth House on Berwick Street, (ii) a hide of turquoise blue leather and (iii) finally some navy silk taffeta that I bought years ago in Southall in West London. For maximum contrast, I used navy blue screen printing inks for the light coloured cotton and blue leather, and gold ink for the dark silk.

THE FINISHED PRODUCT...

The results are really effective on all three surfaces, so now all I need to decide is what to use them for!

  • Turquoise Leather: although summer is a fair way off yet, the turquoise blue would be perfect for the summer, and the softness of the leather should work for an oversized clutch;
  • Cotton Twill: as plastic bags are fast becoming a thing of the past, I want to make a large cotton shopper with tan leather handles out of the printed cotton;
  • Navy Silk: finally, the beautiful silk will be perfect for some cushions on our sofa - I've already wrapped the fabric round an existing cushion to see how they might look.

A NOTE ON SCREEN-PRINTING:

  • The Screen: I ordered the screen online from Thermofax Screens - it was really simple to upload my PDF design and select my screen size. The screen arrived in the post within about a week - they also recommend using their own squeezees for the screens, as the mesh is pretty delicate; 
  • The Inks: I used Jacquard professional quality screen printing inks (available online from Rainbow Silks) in gold and navy blue, so there was no need to dilute or mix them with screen printing mediums. I also use other brands screen printing inks but these Jacquard inks are suitable for printing on leather;
  • Fixing: once the inks had a chance to dry overnight, I followed the instructions and ironed on the reverse of the cotton canvas and silk (being careful with the temperature of the iron for the silk). I wasn't able to iron on the back of the leather, so hopefully that will be ok.

1 Comment

A beautiful handmade bridesmaids dress for a beautiful handmade wedding

2 Comments

A beautiful handmade bridesmaids dress for a beautiful handmade wedding

Last weekend I was lucky enough to be a bridesmaid at the wedding of one my oldest and dearest family friends down in Somerset. The bridesmaids were able to choose their own dresses, so naturally I wanted to make a special dress to mark the occasion. 

My mum trained in fashion and textiles at Farnham art school and still has many of her printed silks that she designed and printed by hand for her degree collection more than 30 years ago!

For this fabric, my mum had airbrushed most of the surface area in soft pastel shades of pinks, blues and greens and then screen printed an intricate pattern based on feathers in coral, gold, yellow and teal. Every part of the design was printed by hand using either an airbrush gun or silk screen stencils. 

One-of-a-kind vintage silk twill!

One-of-a-kind vintage silk twill!

Constructing the perfect bridesmaids dress!

I used ByHand London's Anna Dress sewing pattern and opted for their maxi dress version with a few alterations:

  • Extra Fabric: I didn't have quite enough fabric for the entire dress, so I picked up some pale grey silk crepe de chine from Broadwick Silks (just off Berwick Street in London) and used it to make up the 2 side-back skirt panels;
  • Shorter Skirt Length: I reduced the length of the skirt by 14.5 cm (partly because of my short legs and partly because all the bridesmaids were going barefoot during the ceremony!);
  • Skirt Width: my first attempt at an Anna dress ended up a bit voluminous around the bottom of the skirt, so I reduced the bottom width of some skirt panels by 8 cm  (4 cm each side), tapering it in at the top to ensure the width of the waist remained exactly the same;
  • Small Back Adjustment: as with my original test run of the Anna dress, I needed to reduce the back by about an inch around the top of the zip;
  • French Seams: finally, as the fabric was so old and delicate, I used French seams wherever possible for durability.

The wedding took placeat Little Quarm Cottages in Wheddon Cross in the heart of Exmoor National Park in Somerset.

As well as making my dress, I helped decorate the venue with 25 metres of home made bunting in lace and hessian with matching table runners, and helped feed the guests with home made Rocky Road!

2 Comments

(Named) Laurie Striped Tee, with my own printed fabric!

Comment

(Named) Laurie Striped Tee, with my own printed fabric!

I couldn't wait to start on another Named Laurie Striped Tee after my successful test run! But this time I wanted to use some fabric that I had printed myself!

One of the main reasons for getting into sewing clothes was to make something out of fabric that I had designed and printed myself. A few years back I went on a fantastic textile printing course at the Central Saint Martins in London, where I learnt loads of different printing techniques. 

I designed this fabric from some photos of exotic fish, which I screen printed on to some lightweight grey jersey. Lucky for me there was just enough material to make my Laurie tee!

I screen printed the pattern a bit haphazardly on the fabric, so the pleats really helped to bring out a more effective pattern! Another successful sew :) but it's a shame I don't have any more fabric left to make something else...

Comment