A sleeveless summer jacket for mum - a 'pattern hack' of the (ByHand London) Victoria Blazer

Comment

A sleeveless summer jacket for mum - a 'pattern hack' of the (ByHand London) Victoria Blazer

Sleeveless jackets are everywhere at the moment, so I thought I'd try and knock one up myself :)

Unfortunately, the finished jacket suited mum far better than me so I'll just have to settle for a shop-bought one...but at least mum is super pleased with the new addition to her wardrobe!


Creating (my) perfect summer jacket

ByHand London Victoria jacket
image.jpg

The Victoria Blazer from ByHand London is such an easy pattern to follow  and comes with a sleeveless version, so it was the perfect choice for this project.

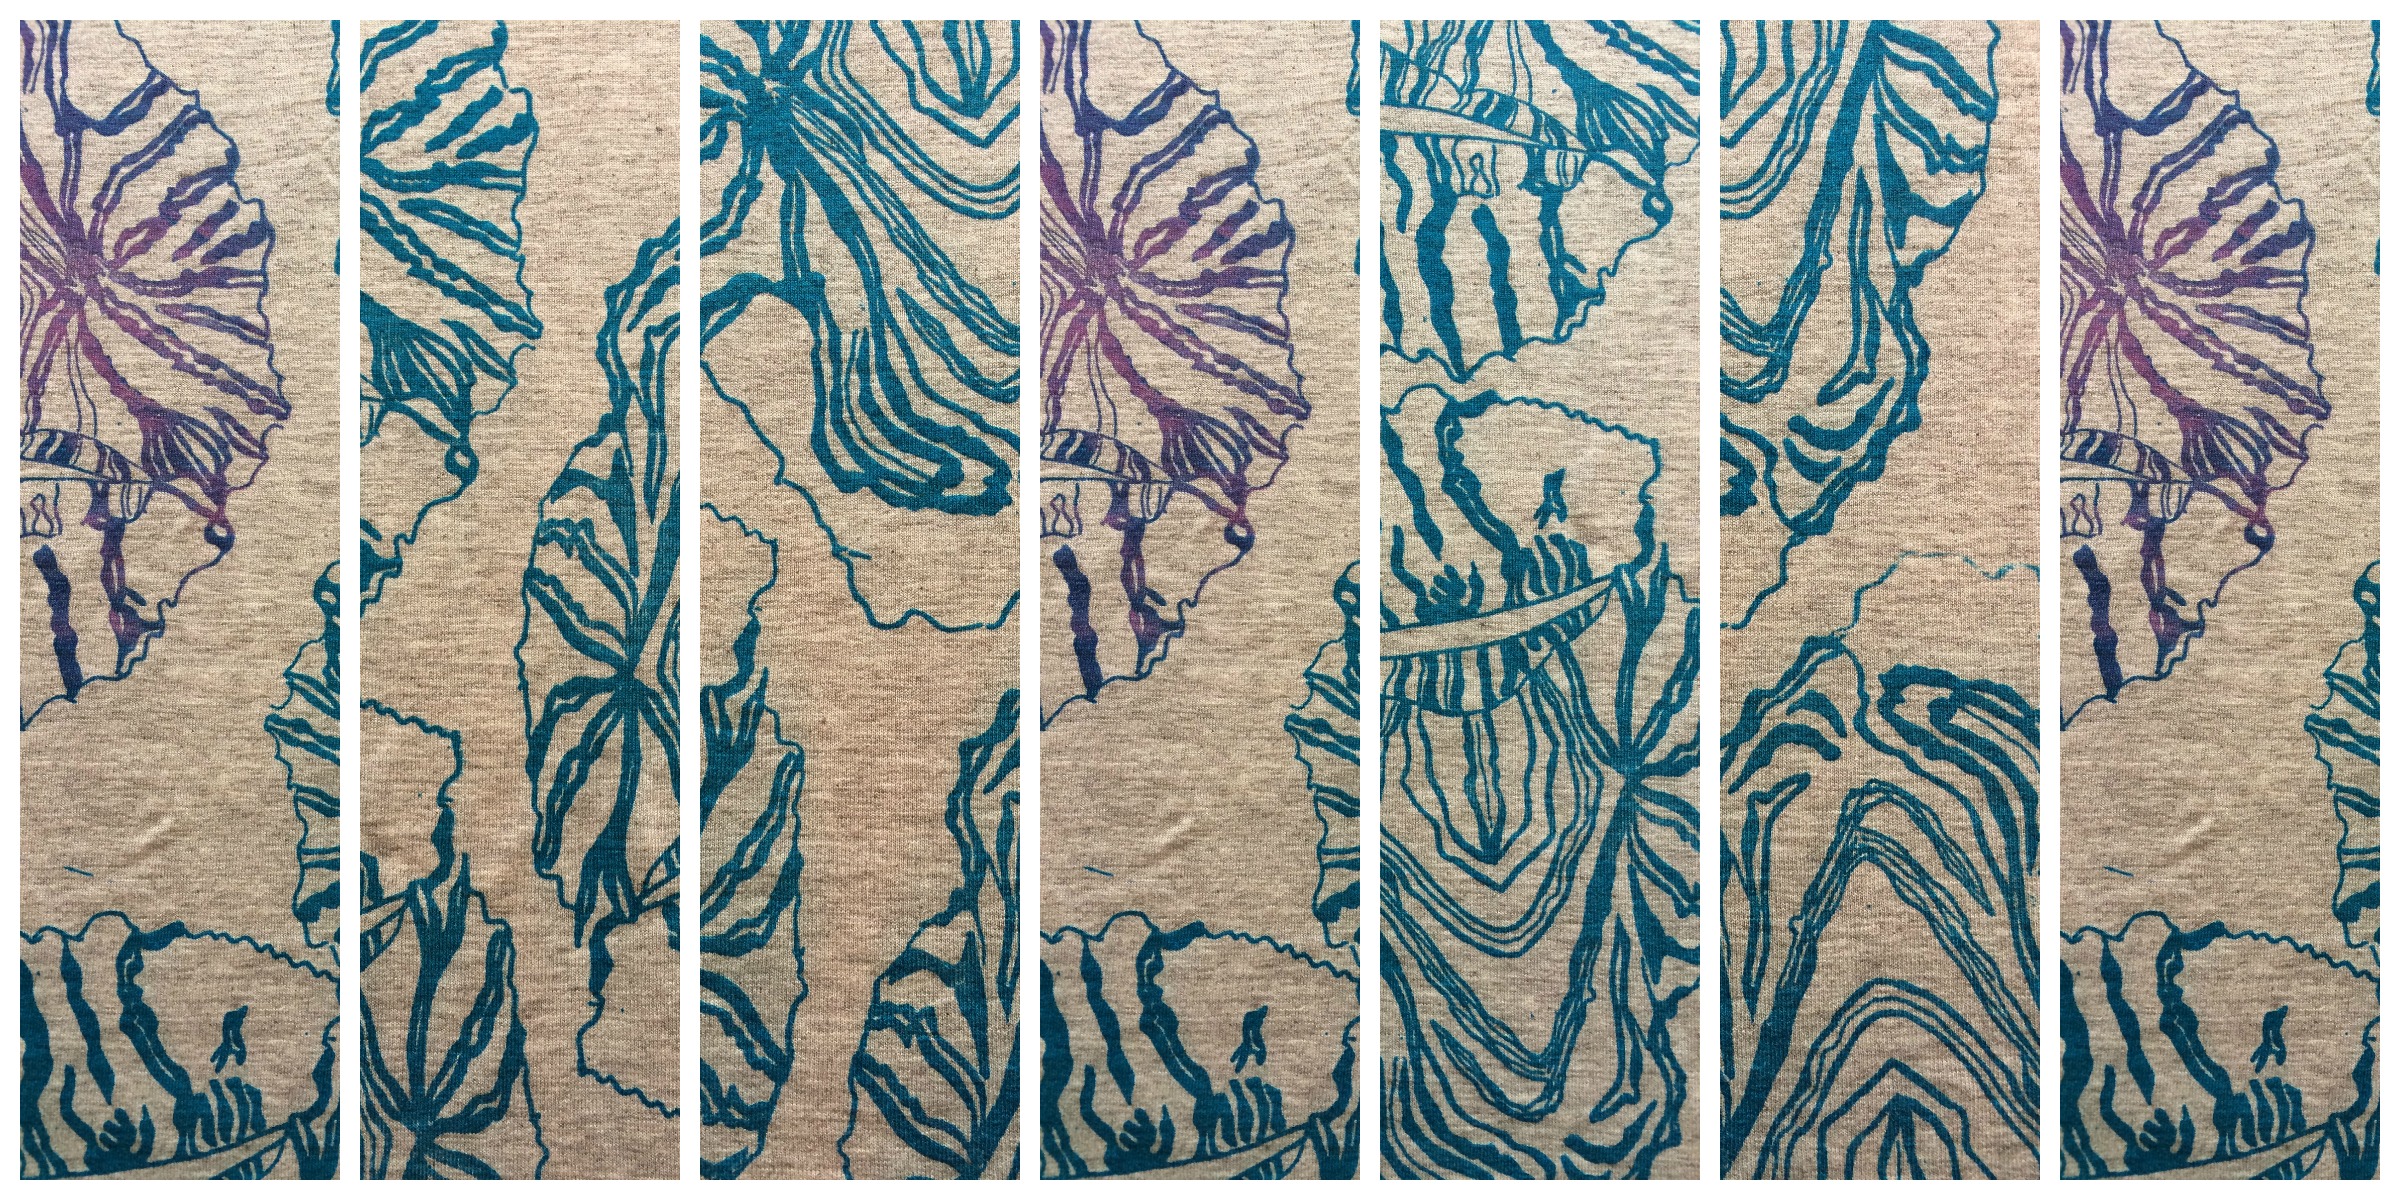
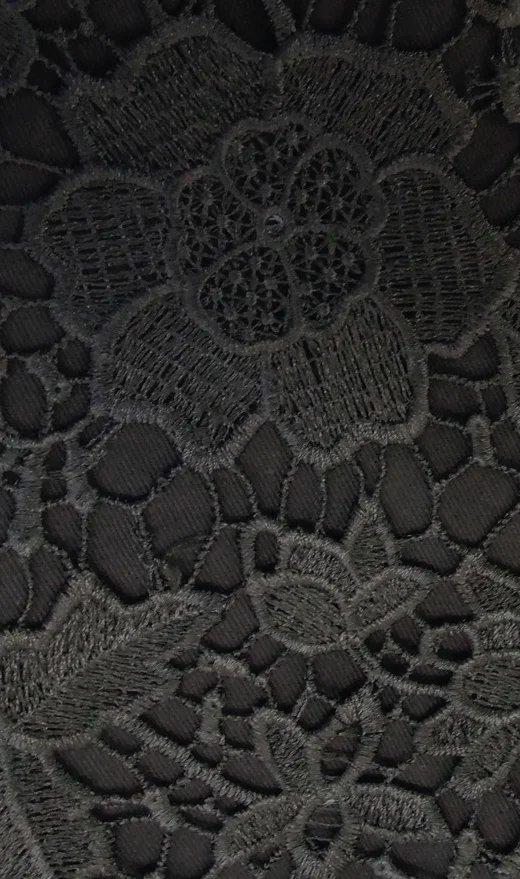
I chose a neutral fabric for the shell - a cream cotton with flecks of neon thread (another find at the Cloth House sale!) - it was very loosely woven which meant it was a nightmare to sew (something of a recurring theme with my sewing...). Once I knew that the jacket was for mum, I chose the lining fabric in her trademark "bright pink". 

As for the shape, you can't beat the clean lines of a trench coat so I changed the collar and lapels of the original pattern. After a bit of 'trial-and-error' playing around with different widths and angles, I ended up with an exaggerated collar and lapels that sat at complimentary angles.


The all important details:

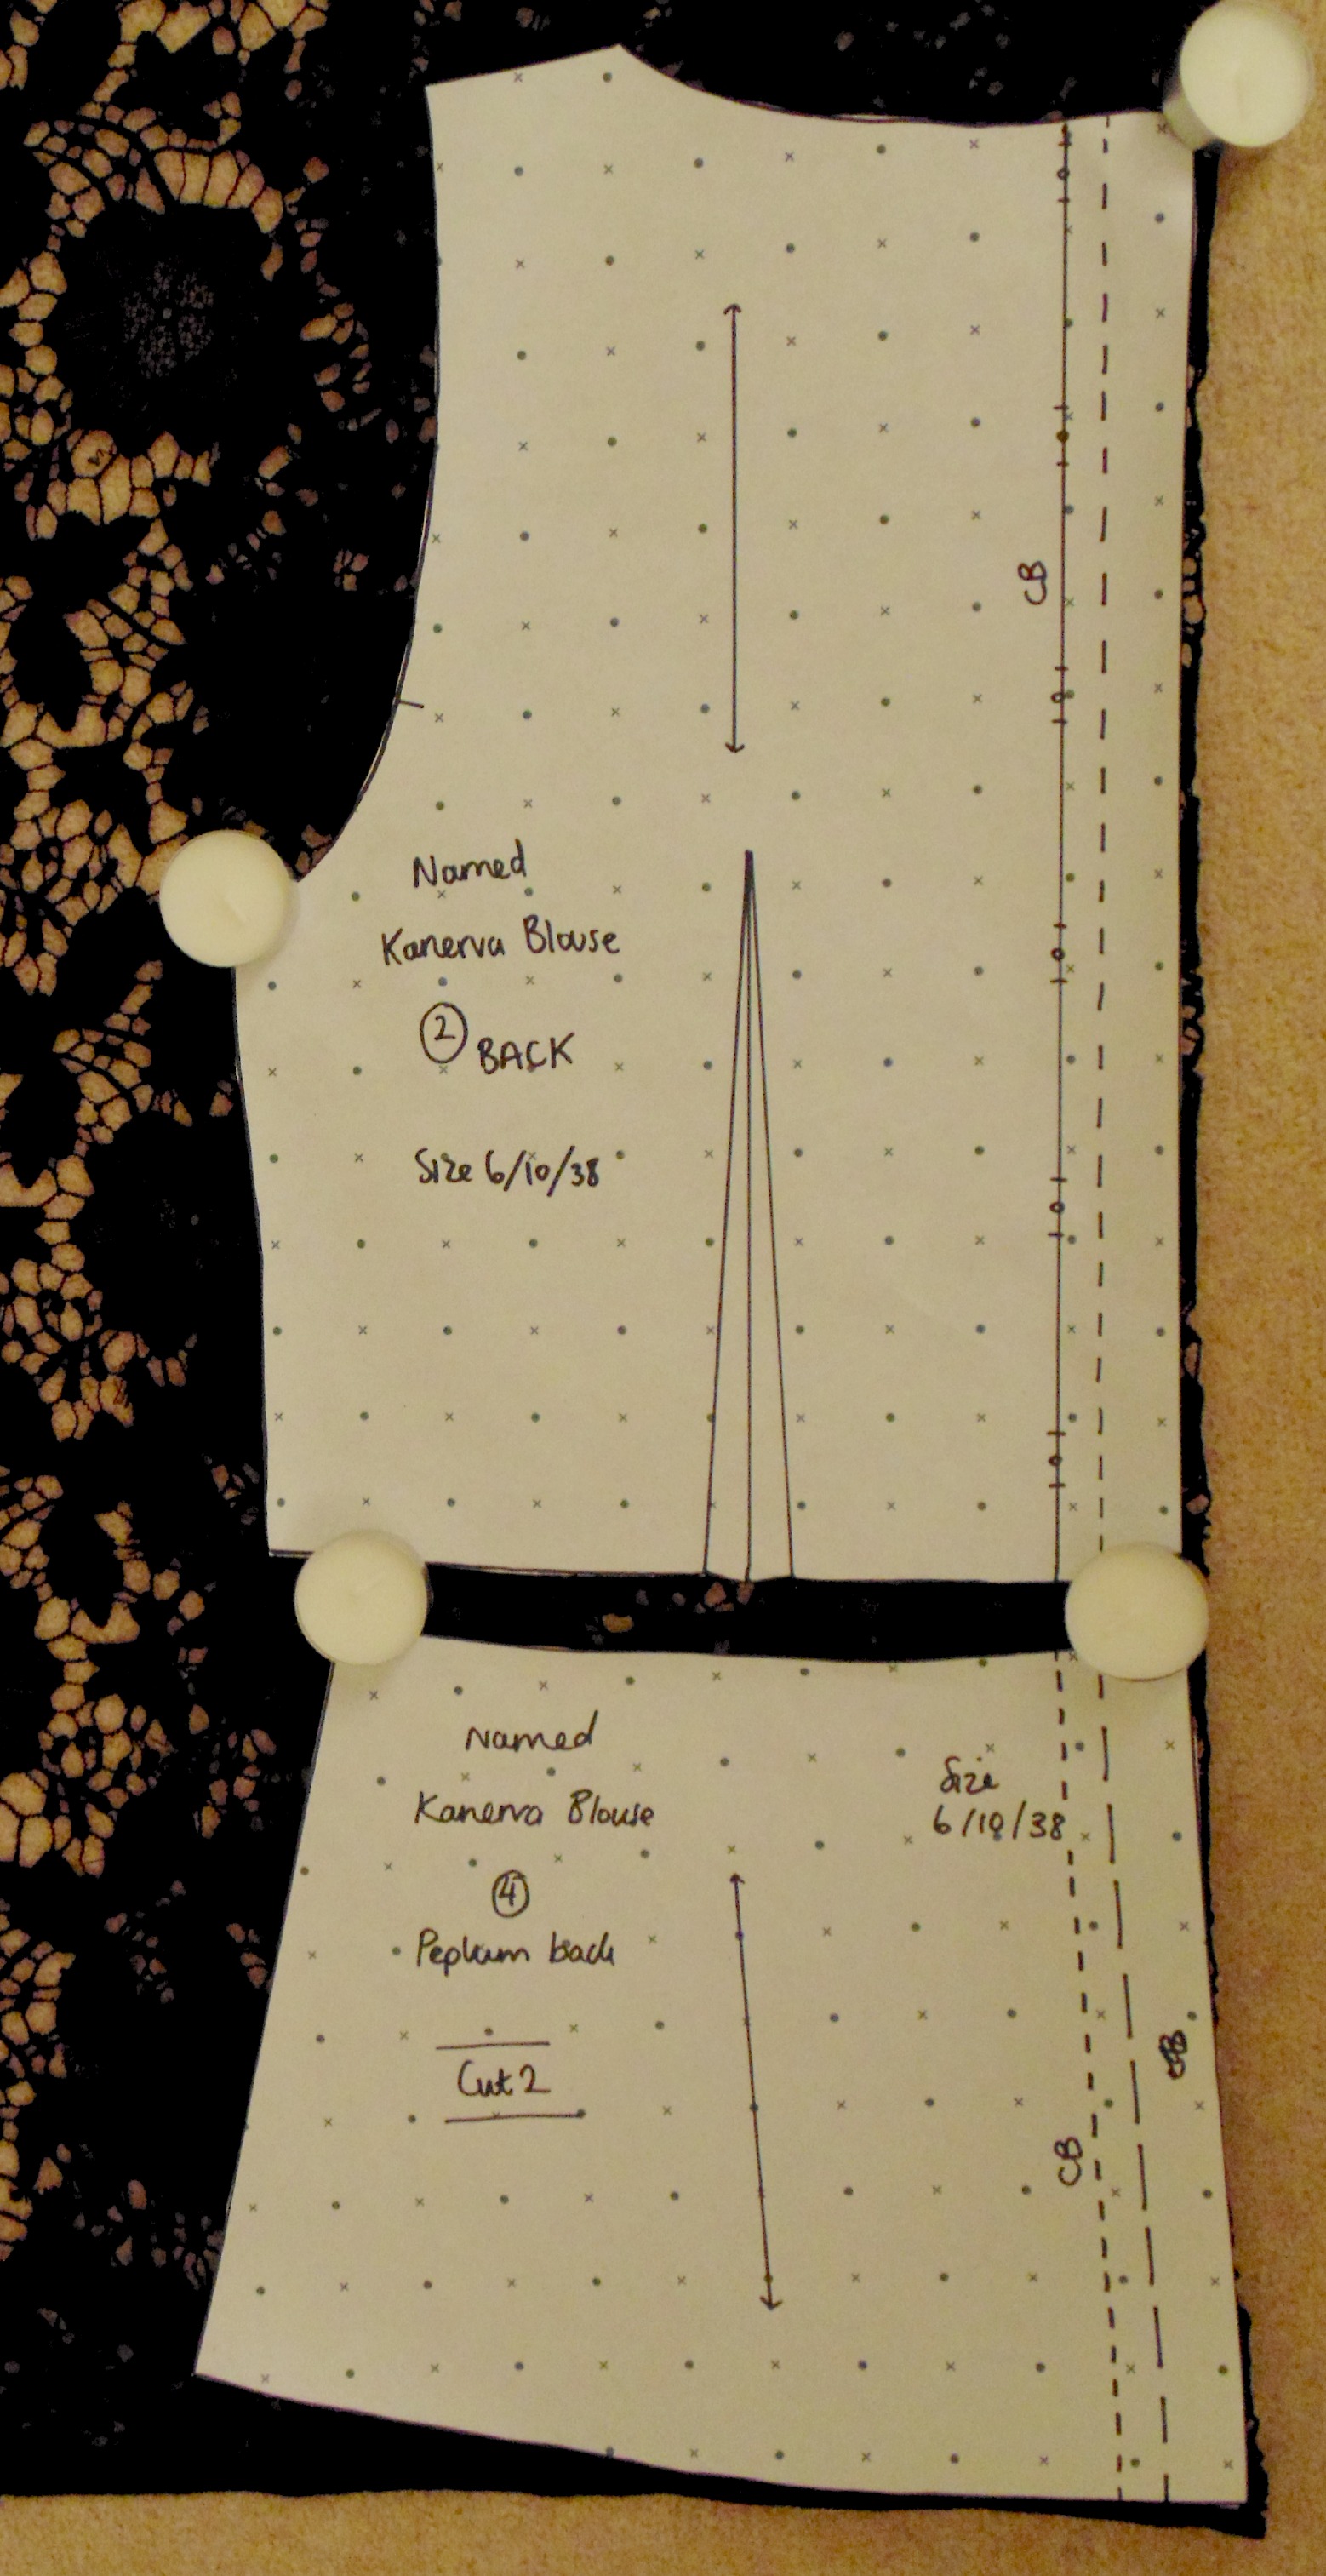
  • Follow ByHand London's instructions for the sleeveless Victoria Blazer (variation 3), cutting out all pattern pieces but leaving the collar (piece C) and lapels (piece D) aside. 
  • I compared the collar on a Victoria Blazer that I'd made previously with my trusty Hobbs trench coat and made the following changes to the collar and lapels:
    • Extra width: to achieve the dramatic effect of a trench coat, the original collar and lapels pattern pieces needed widening by about 10 cm;
    • Collar (piece C): the original pattern piece is a perfect rectangle, so I tapered out the ends every so slightly; and to make sure the tapering was even on both sides, I re-drafted the pattern piece so it had to be cut on the fold;
    • Lapels (piece D): to create the perfect angles for the new lapels I traced a deep arrow shape out of the lapel pattern piece (thereby creates a beautiful desired point when the pattern piece is folded in half). Although not necessary, I drafted 3 depth options for the V.
  • I also used interfacing for the collar and lapels for extra body so that those sharp points stayed nice and crisp!

The finished jacket definitely isn't perfect, as I think this pattern lends itself to fabric with more drape, but mum seems pretty happy with it!

image.jpg
image.jpg
image.jpg

Comment

(Named) Laurie Striped Tee, with my own printed fabric!

Comment

(Named) Laurie Striped Tee, with my own printed fabric!

I couldn't wait to start on another Named Laurie Striped Tee after my successful test run! But this time I wanted to use some fabric that I had printed myself!

One of the main reasons for getting into sewing clothes was to make something out of fabric that I had designed and printed myself. A few years back I went on a fantastic textile printing course at the Central Saint Martins in London, where I learnt loads of different printing techniques. 

I designed this fabric from some photos of exotic fish, which I screen printed on to some lightweight grey jersey. Lucky for me there was just enough material to make my Laurie tee!

I screen printed the pattern a bit haphazardly on the fabric, so the pleats really helped to bring out a more effective pattern! Another successful sew :) but it's a shame I don't have any more fabric left to make something else...

Comment

(Named) Laurie Striped Tee in metallic silver

1 Comment

(Named) Laurie Striped Tee in metallic silver

Berwick Street in London is home to some of the most exquisite fabric shops, including the Cloth House. They recently had a clearance sale as they are moving premises so I picked up some real bargains, including this gorgeous metallic silver (denim?) fabric. It had a slight stretch so was perfect for trying out Named's Laurie Striped Tee.


This fabric is a dream to sew with, and the Laurie pattern was so simple to follow - I was able to knock this up in a few hours. So a big tick for both the fabric and the pattern. My best sew yet I think :) 

I have so much more of this fabric, perhaps I'll make a jacket and a skirt...! I've already started on my next Laurie tee!

1 Comment

Anna maxi dress, ByHand London

Comment

Anna maxi dress, ByHand London

My third pattern from ByHand London is the Anna Dress.

With summer coming, I have a gazillion versions of this dress that I want to make...but first up, a practice run of the V-neck maxi dress variation.

I used a black and white zebra print, but wanted to break up the pattern so I cut the centre-front skirt panel from a plain black fabric. This meant I could squeeze the rest of the pattern pieces out of only 2.5 metres of fabric...result! Maxi dress for just over a tenner :)

As the cost of the dress was now cheap-as-chips (although I never seem to value how many hours I spend on my creations), I was bit quick with my stitching. I ended up with loads of puckering attaching the bodice to the skirt panels! Argh! But as I had opted for French seams with this garment, I was in for a surprise...all my puckering was hidden by the second line of stitching!

Other than this little hiccup, this dress is really simple to sew up (especially with ByHand London's helpful sewalong) , and I can't wait to get started on the next one!

Easy to adapt: 

  • A PERFECT FIT: I'm not normally confident tweaking a garment for a better fit, but I found it easy to shorten the skirt panels by 14.5cm (I then turned up my hem twice at 1/2 inch each time), and then to reduce the back by tapering in the top of the zip by about 1/2 inch each side of the zip. 
  • REDUCE AMOUNT OF SKIRT FABRIC: A possible adaption for my next version might include taking in the bottom width of at least one skirt panel (by an inch or two). It may just be the way the crisp fabric falls, but I feel that there's a bit too much fabric floating around at my feet). 
  • COLOUR: Although more to do with the choice of fabric rather than the pattern, I'd quite like to introduce some colour (especially given the huge volume of fabric of this garment). I have some ideas in mind, so I might "upgrade" this dress once I'm bored with the monochrome look :) 

OTHER VERSIONS IN THE PIPELINE (ALL MAXI-dress VERSIONS SO FAR):

  • A very special hand printed patterned silk, safely preserved for a few decades (more on that later);
  • a very soft navy cotton that has an almost silk like sheen, covered with a multicoloured tropical bird print; and
  • ....maybe I should stop there for now!
image.jpg

Comment

1 Comment

Idea for lace (Named) Kanerva Button Back Shirt

As it usually takes an age for my initial ideas to become reality, I've decided to write about my thoughts on planning each garment in case I forget about the original idea (or it never gets made...).

First up, the Named Kanerva Button Backed Shirt from their SS 2014 collection (another Christmas present just waiting to to be put to good use!). I've already traced off my size from the paper patterns, which were super easy to work with.

I have some leftover black lace from my (ByHand London) Charlotte miniskirt which is crying out to be incorporated into a top of some description. Given that I had such a nightmare with the stuff, I can't quite believe that I'm so eager to be using it again so quickly...but it's just soooooo pretty.

It looks like I only need about 80 x 75 cm to make the Back and Peplum Back pieces in lace, so I still have more lace to torment me on yet another occasion :)

Rather than make up the entire garment in lace (in an effort to preserve my sanity!), I'm thinking the Front and Front Peplum pieces should be in a crepe de chine (or something quite sturdy to balance the heavy lace at the back).

I can either leave it at that and make it a sleeveless variation (a la Guthrie&Ghani’s cute version), or I could use a delicate chiffon for the sleeves...because 2 tricky fabrics in one garment just simply isn't enough of a challenge ;)

I need to spend some time thinking about finishing the seams and how the buttons will sit on top of that lace. I want to avoid the bulky seams from last time. Perhaps French seams might work(?) and using some pretty grosgrain ribbon and interfacing for the buttons and buttonholes...

Any ideas or tips?

1 Comment

1 Comment

Charlotte lace 'mini' skirt, ByHand London

I couldn't wait to get started on my very first sewing patterns (both from the lovely ladies at ByHand London), the Charlotte Skirt and the Victoria Blazer (more on Victoria here).

Eyeing some of the beautiful creations made by other talented stitchers out there, I opted for plain black cotton topped with thick black lace (found on my first trip to Walthamstow market). To cater for my short little legs, I took up the skirt by about 6” from the original pattern.

To give the skirt a bit of movement, I decided to make up the 2 skirts separately, joining them together at the waistband and the zip. I encased the lace seams with black bias binding,but unfortunately this created quite a bit of bulk at the side seams. 

DSC00447.JPG

When it came to stitching the zip, that's when the fun began. Confident with the successful test run on my muslin (and armed with ByHand London's invisible zipper tutorial for back up) I thought it would be a breeze. But after my first attempt, I could barely close up the zip. So the unpicking began...

I grabbed some cotton black binding from my sewing box, which I thought would make a nice feature whilst keeping the teeth of the zip away from the lace! So I started sewing the binding on top of the zip...on top of the lace...on top of the cotton...ok, so it wasn’t the lace that was the problem, but rather than huge volume of fabric that was causing the zip to jam!  So I unpicked the zip for the third time...(I had to unpick a second time when I sewed the zip on the wrong way!)

By this point, I just wanted to finish the skirt, so I stitched the zipper directly on to the binding, and stitched the binding to the skirt (reinforcing it afterwards by encasing the seams together...fingers crossed this skirt passes the test of time)

The skirt fits like a glove so, all in all, despite my attempts of self-sabotage by deciding to use such a tricky fabric, I'm really pleased with it.

Just don't look too closely at the finishing ;)

Learnings for next time:

  • Beware of lace!: Lace is problematic at the best of times, but heavy thick lace is even worse. 

  • The last inch at the top of my zip still won't do up - it seems I stitched too close to the teeth (is that even possible?)

  • Bulk at the side seams: in an attempt to neaten the raw edges of lace by encasing the seams with binding. I must try French seams next time (which I'm trying out for the first time on my Anna dress).

  • Stiffen up the waistband: although a really lovely feature, interfacing would definitely help the waistband stand up proud.

1 Comment